


There’s finally a slight chill in the air, which means it’s time again for my annual pumpkin adventure! Every year I seem to fluctuate between doing something more “Fall” themed that could last through the season, or I’ll go the other extreme and do something blatantly “halloween-y”. Last year’s freaky floral pumpkins were probably somewhere in the middle, although they’re not something you’d probably have around during Thanksgiving, lol… (or would you?… 🤔)
This year, I decided to go back to a more general “Fall” themed pumpkin. We had a pretty hot summer in So Cal, and currently it’s become an “indian summer”… so I guess that might have played a part in this year’s concept.

left: Alexander Calder, top right: Stella McCarthy PreFall 2014, bottom right: Shira Barzilay for Artfully Walls
I’ve really been loving all of the single-line face illustrations that have become popular in fashion and decor over the past year or so, but specifically I was inspired by the wire faces that Alexander Calder made. Here’s a fun video about some of Calder’s wire sculpture portraits:
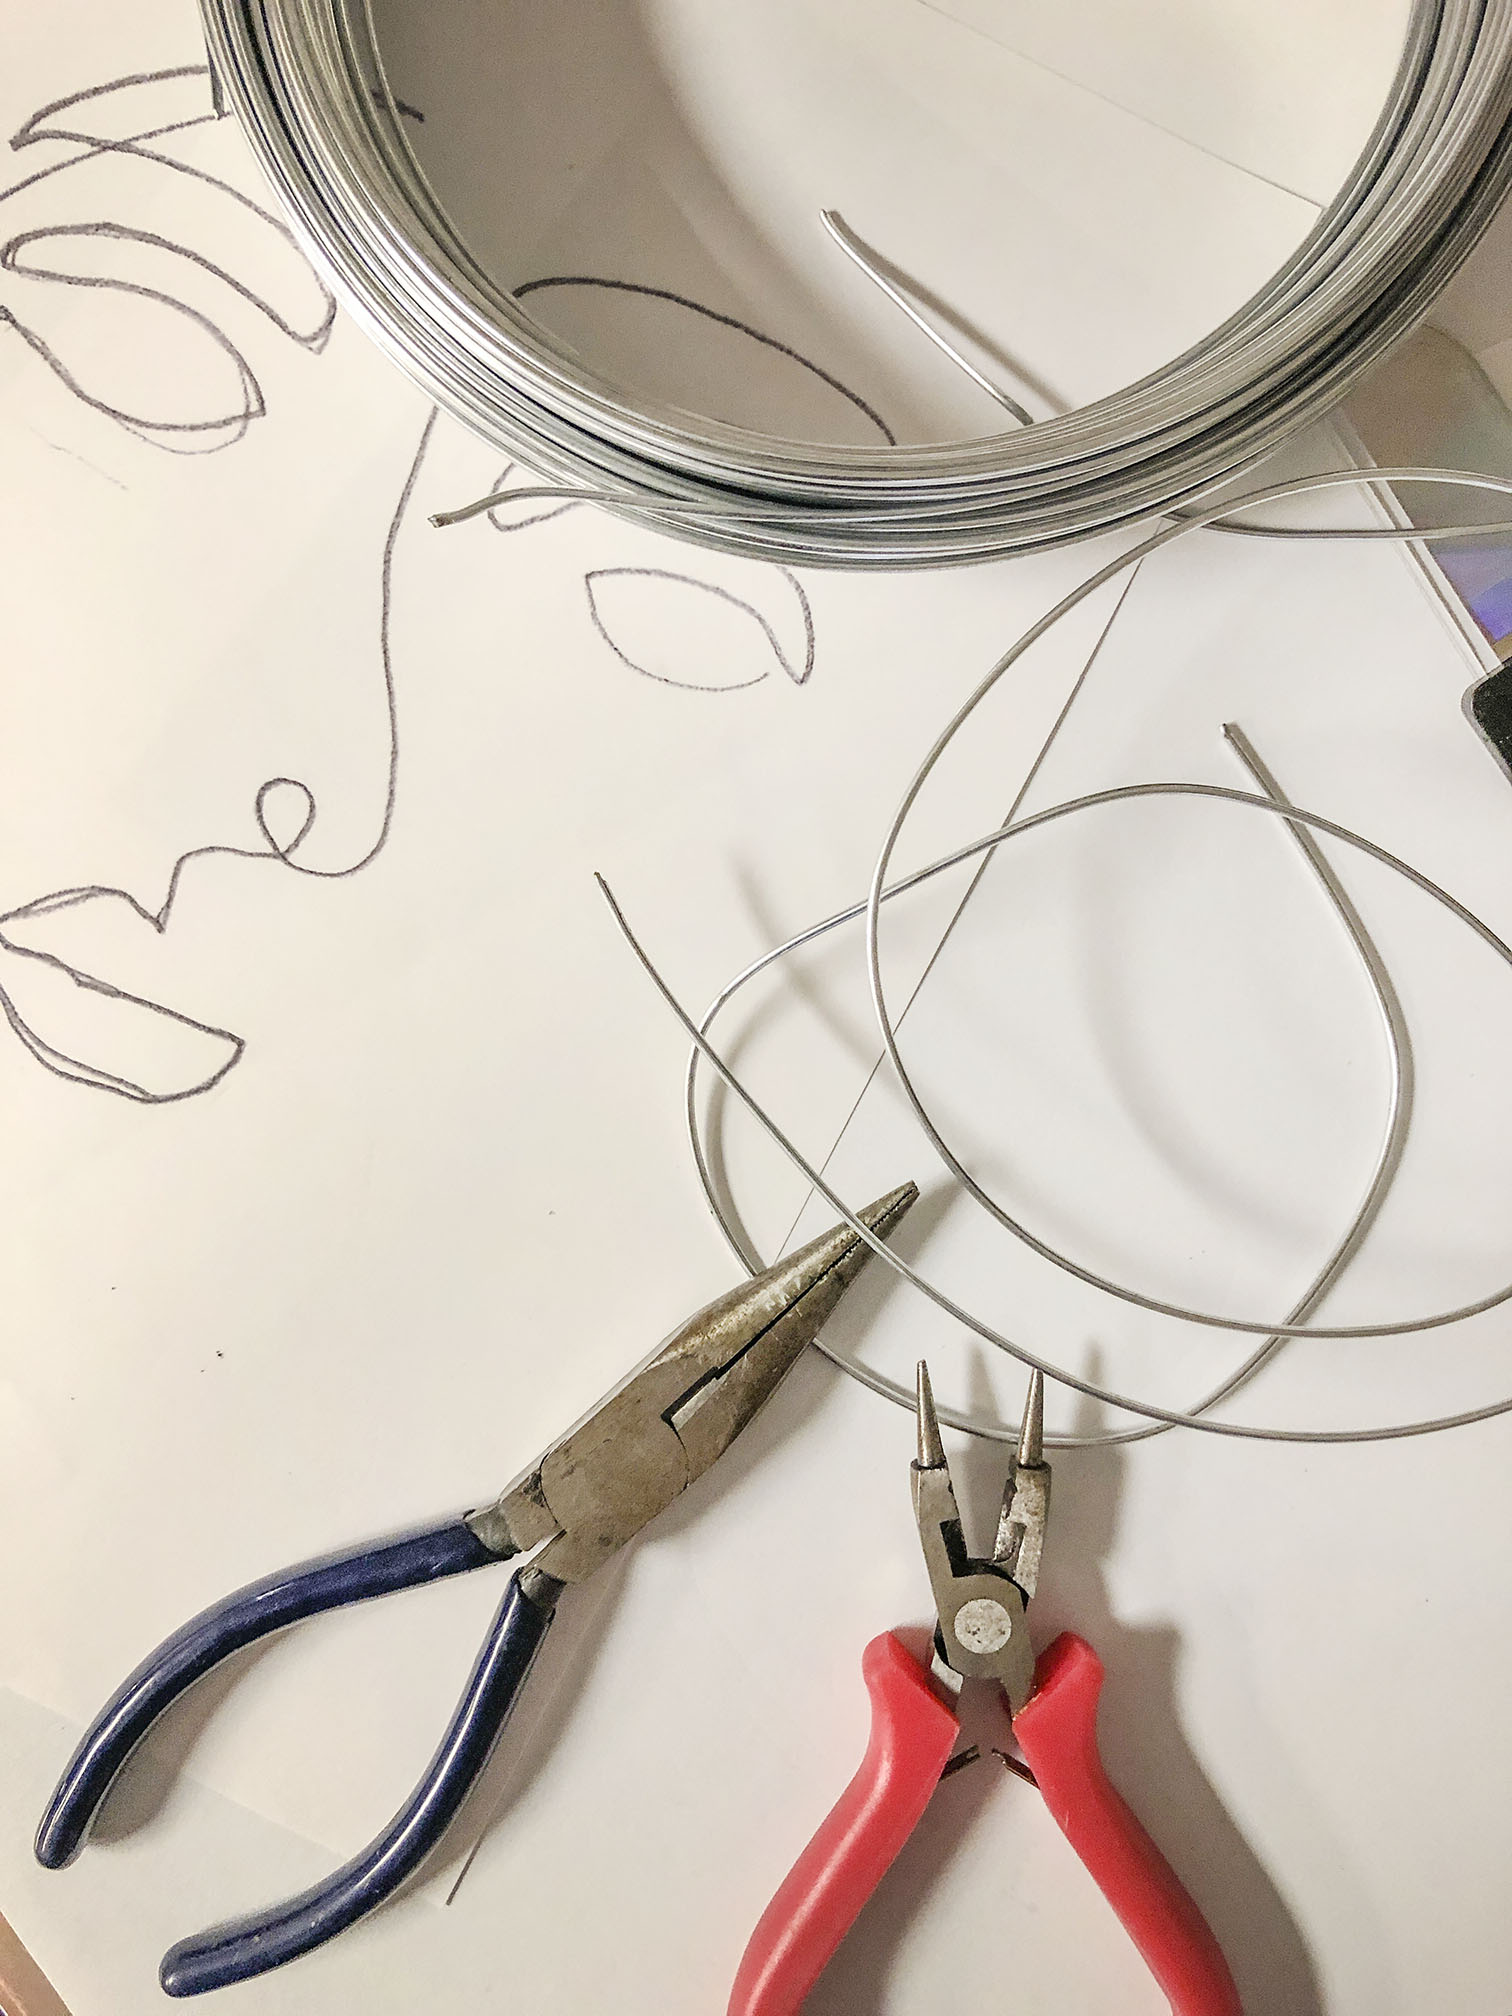
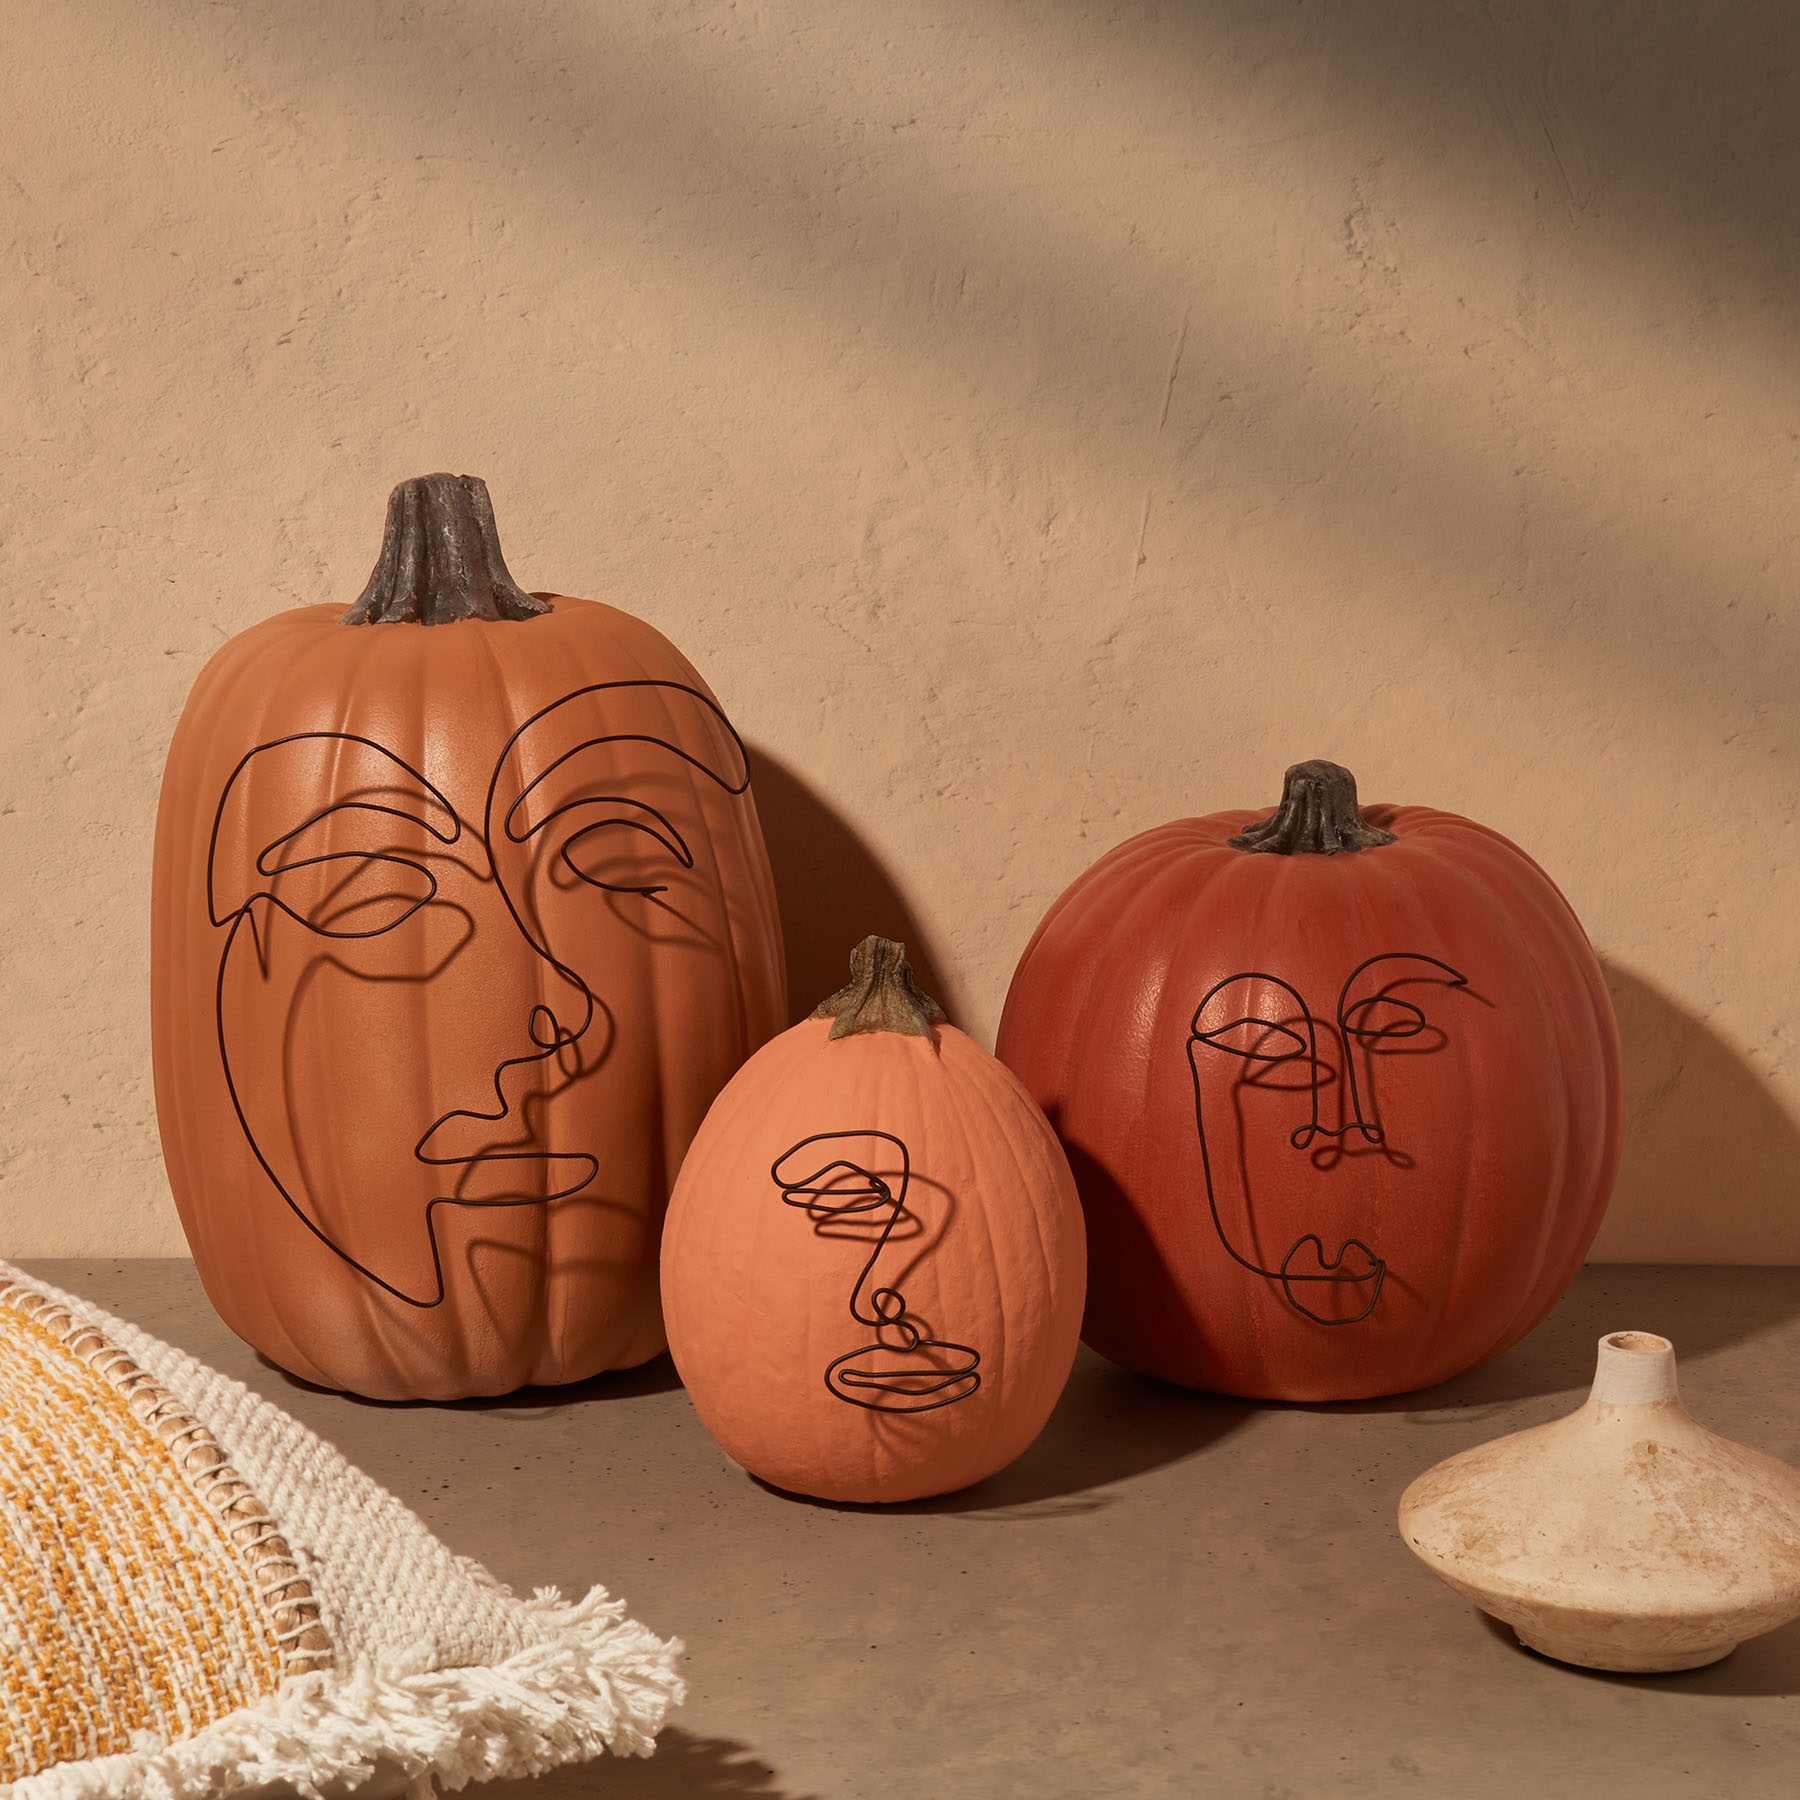
So, wire face Calder-esque Pumpkins are my theme for Fall/Halloween 2019! Here’s what I used:
- wire (I used 16 gauge)
- needle nose plierspumpkins (real or fake, I used both)
- paint (I used some leftover indoor wall paint as well as spray paint for the pumpkins, but i also sprayed the wire a dark color to make it show up more)
To start, I measured the approximate height of the area I wanted to position the face on each pumpkin- then I started doodling some faces until I had a few that I liked.
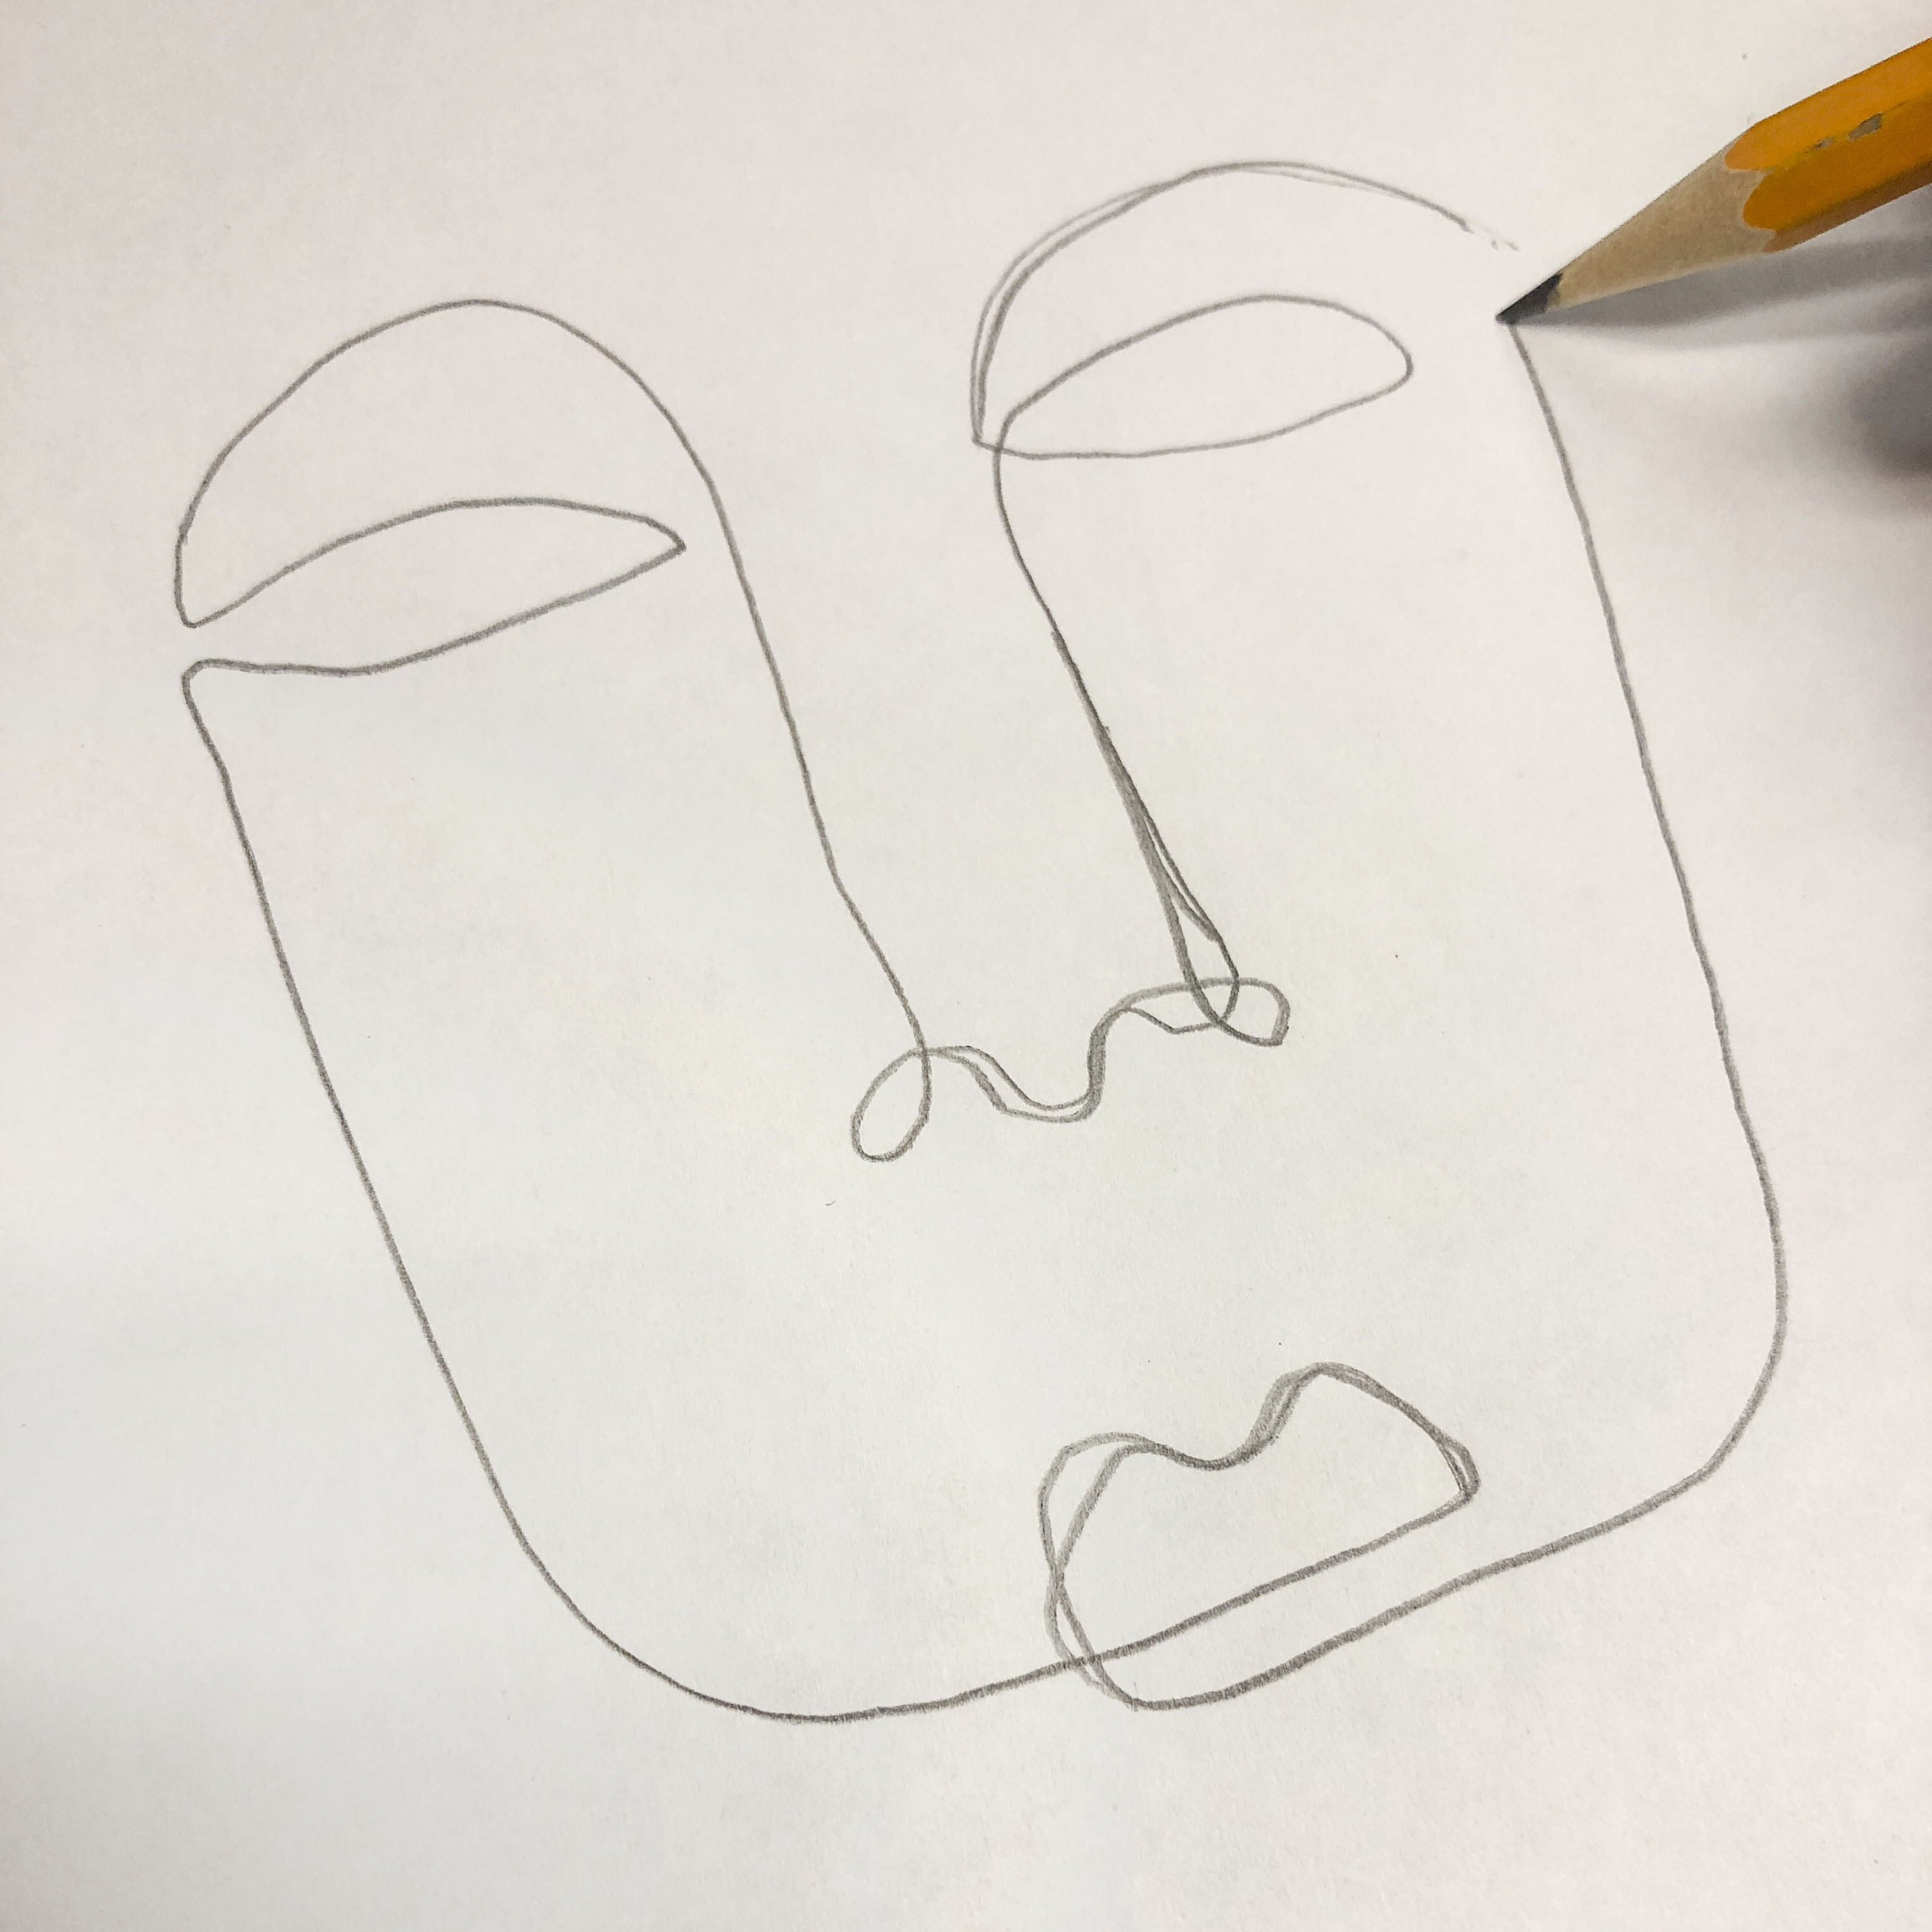
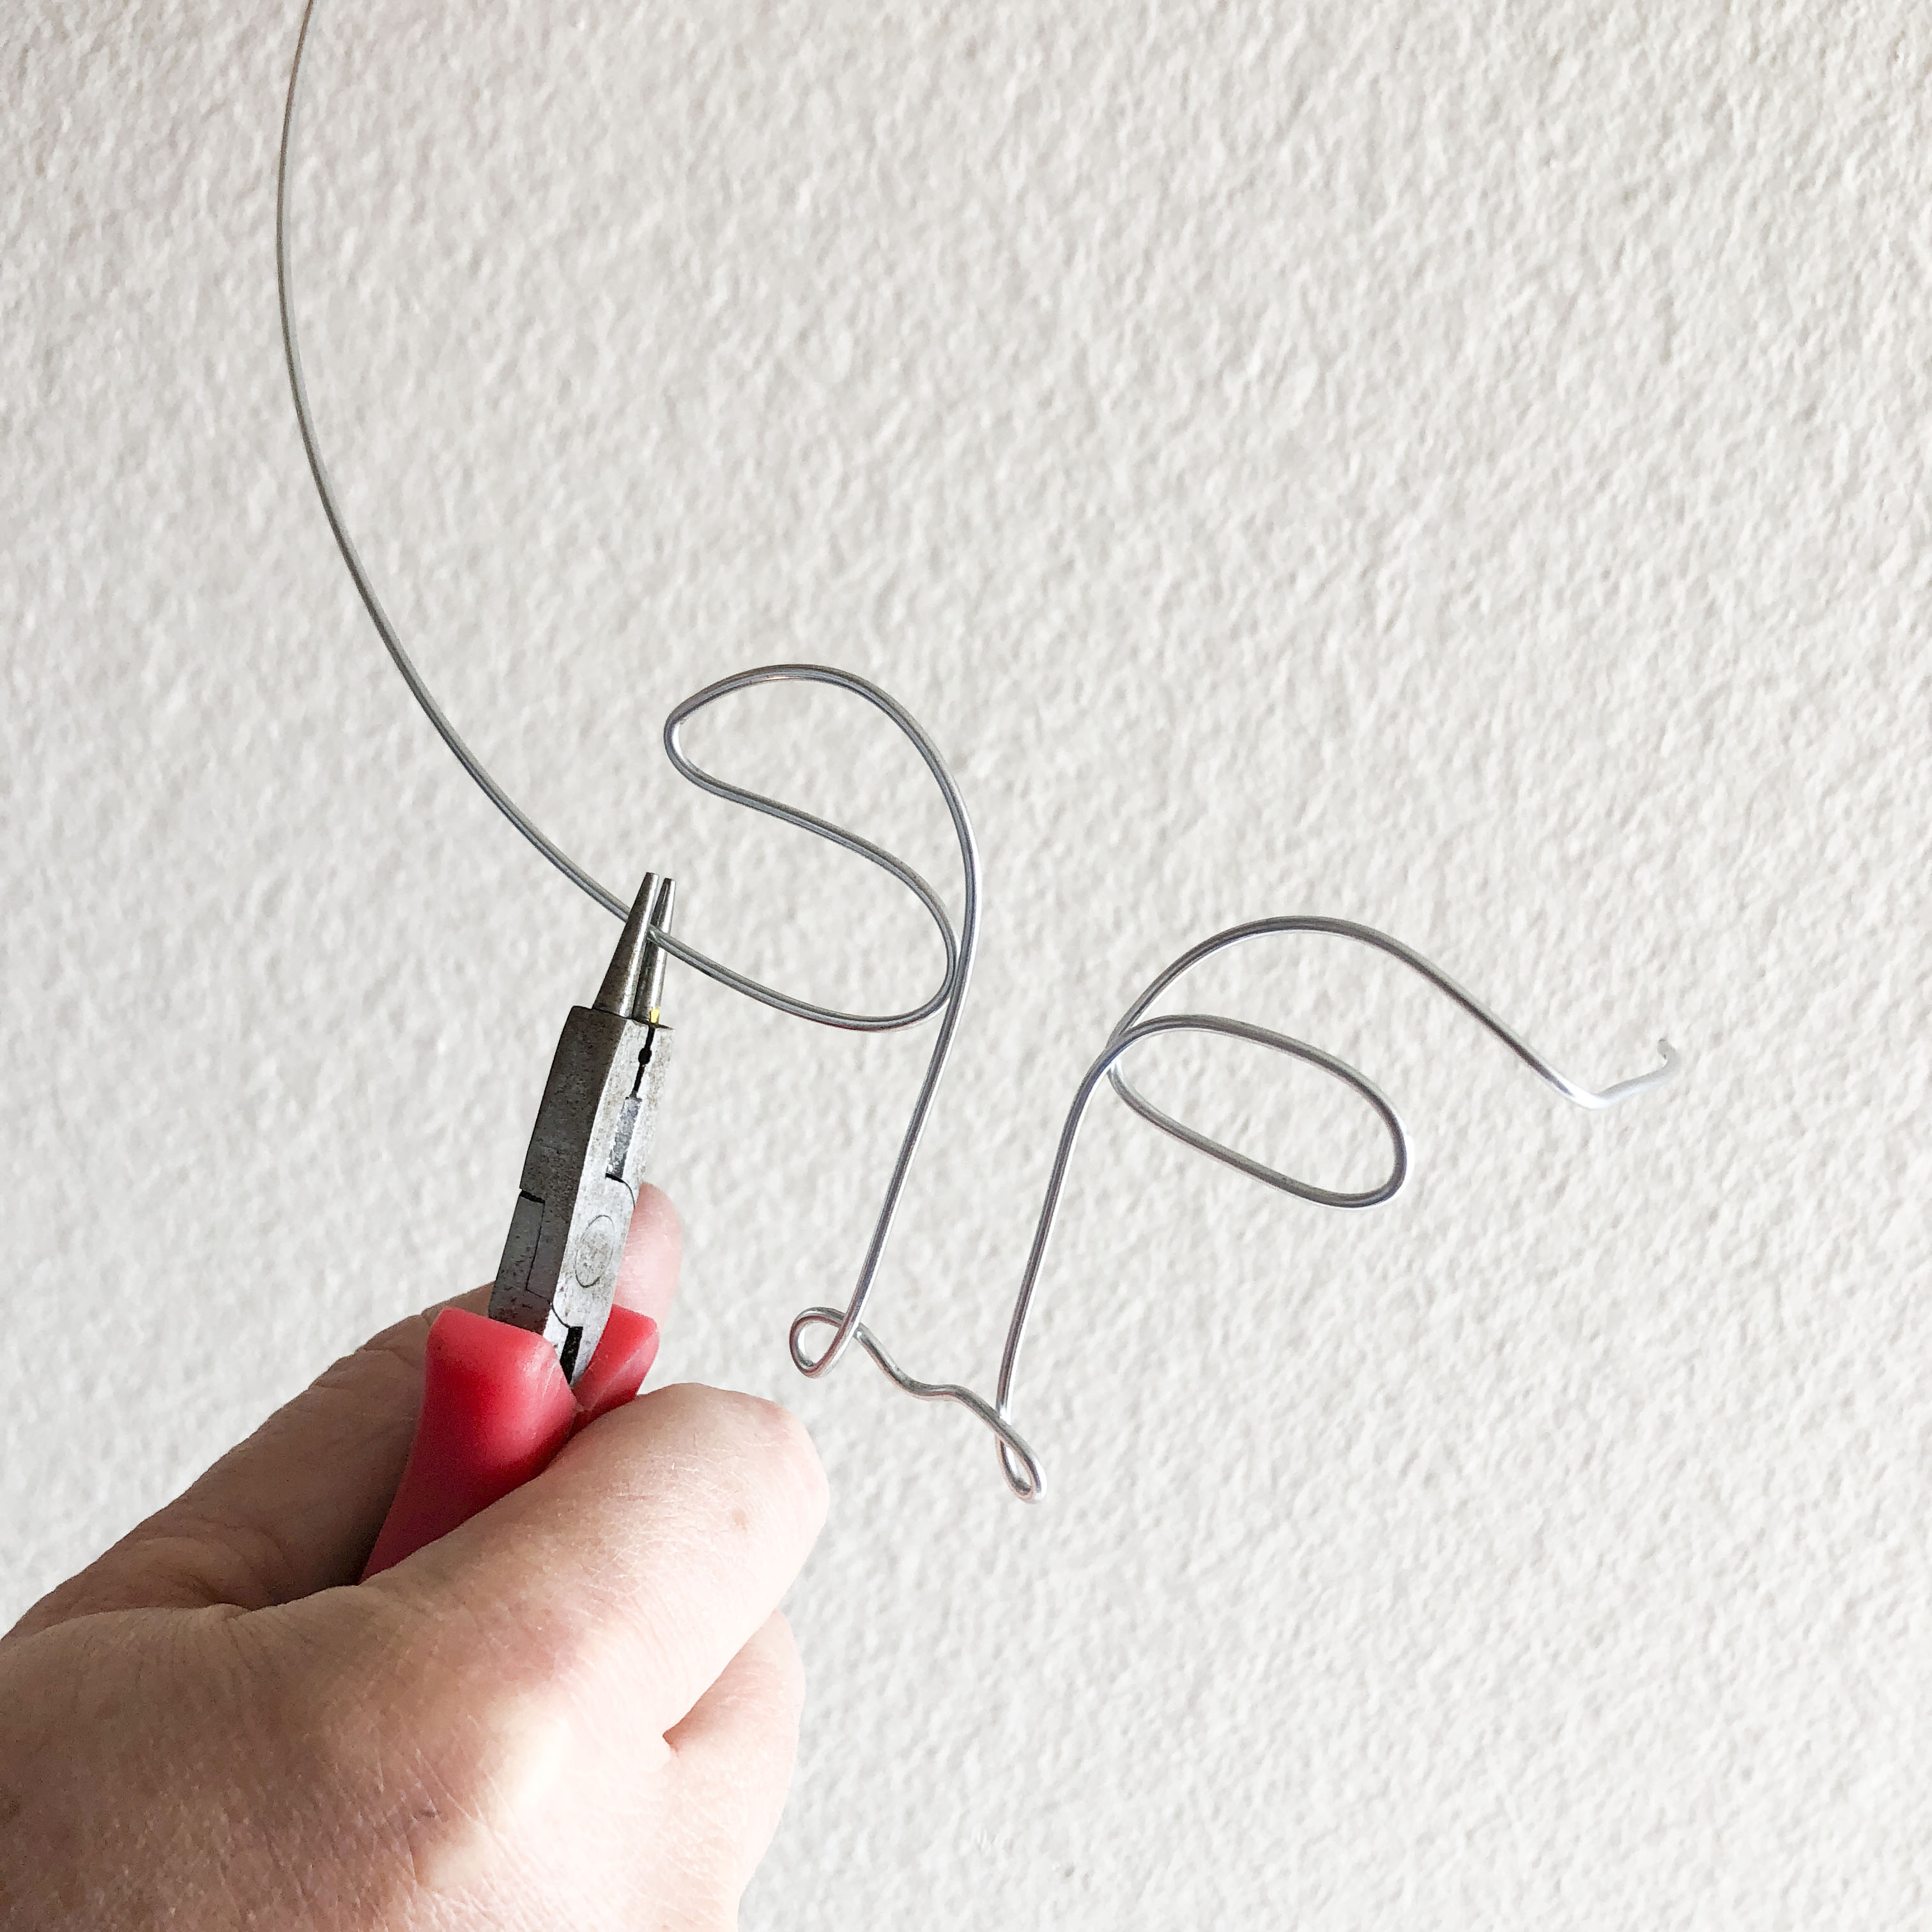
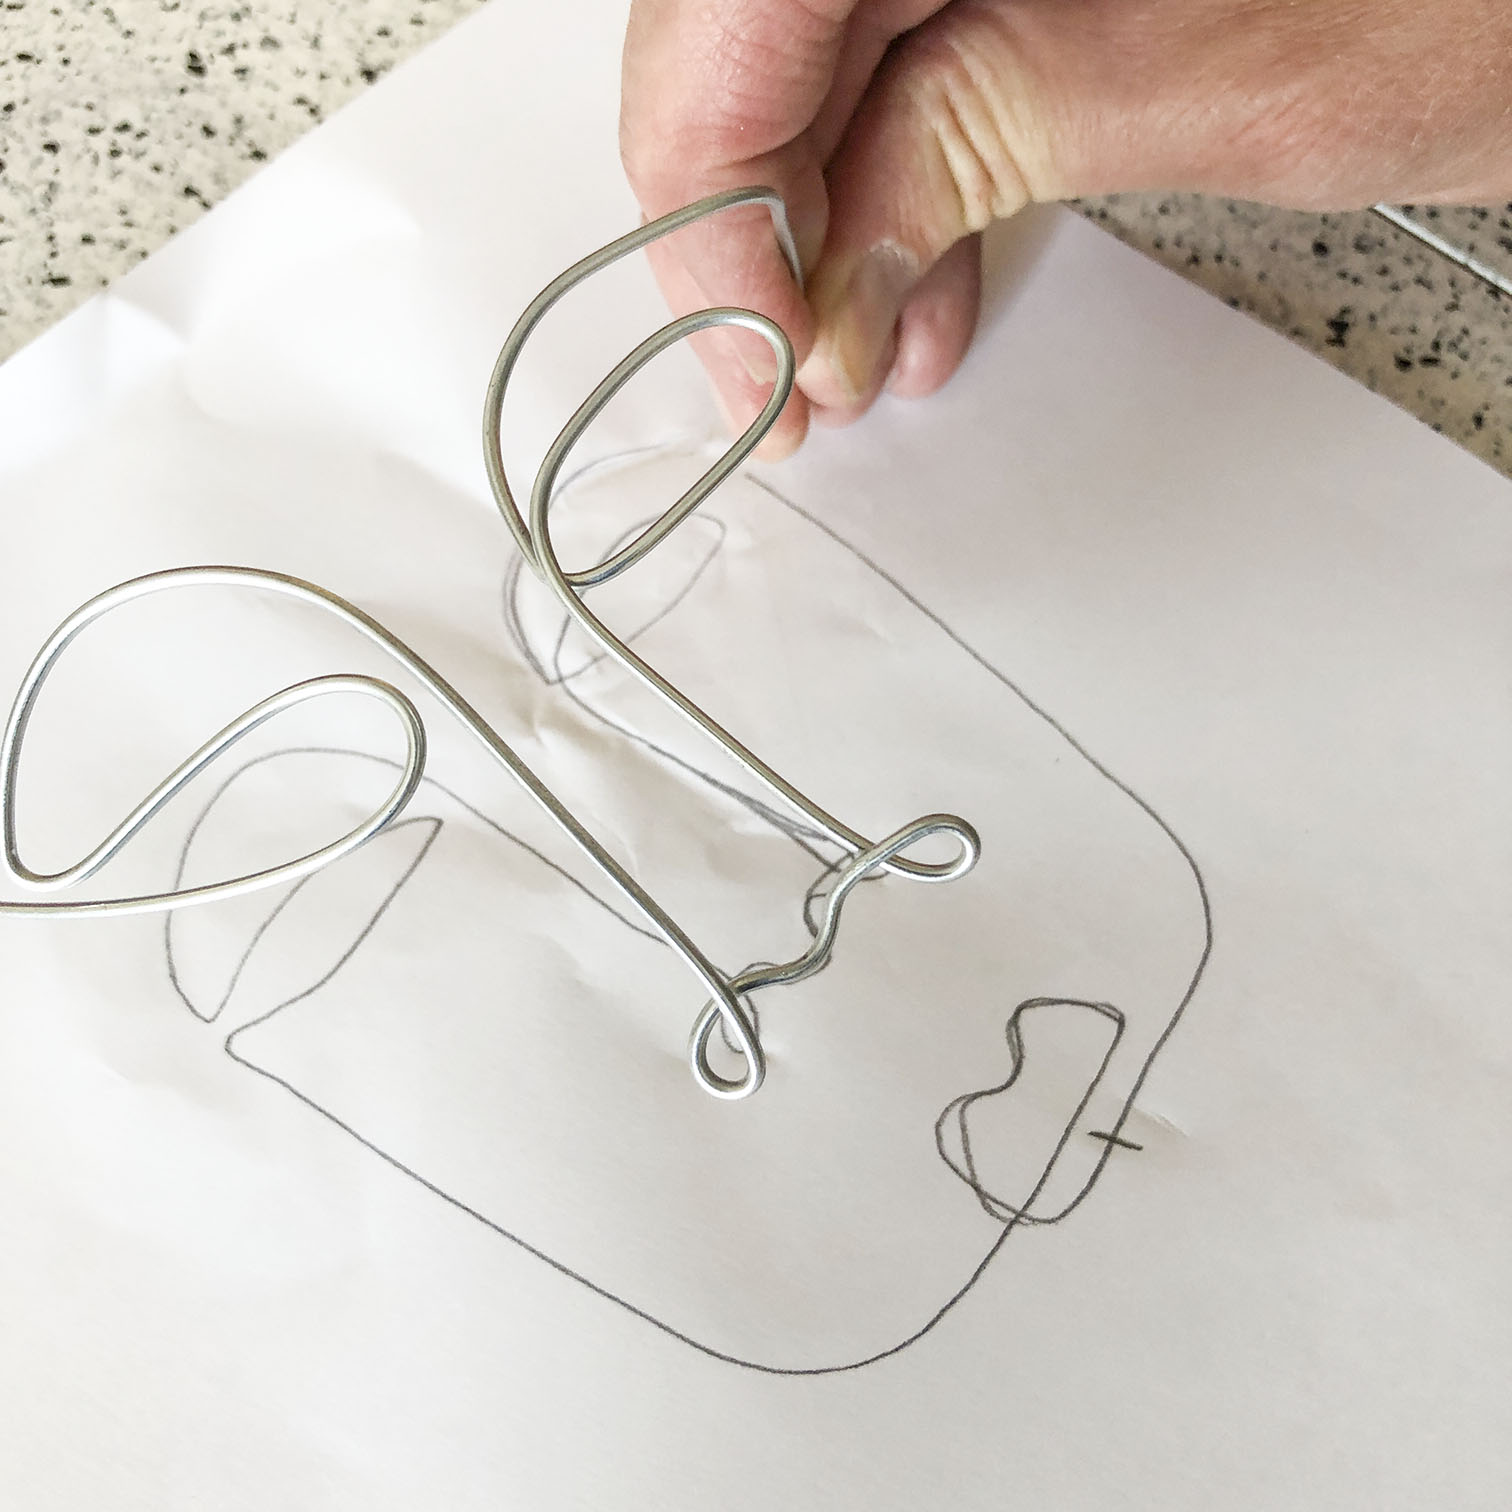
I then started bending the wire and used the drawing as a guide. Make sure you leave some extra wire in the beginning and at the end because you’ll need that length to use to puncture the pumpkins with. Also- when you’re drawing the face, make sure your starting point and end point are in two places a good distance away from each other. Ideally at a top and a bottom position, or on opposite sides. This is important because you want to have balanced positioning for the face to be held up with.
After I had my wire face bent and sculpted, I spray painted it a very matte dark brown (or you could use black). Krylon has a “camouflage” line of spray paint (i got mine from Home Depot). Their Dark brown is very matte which I thought gave the wire a more rusted metal look.
I wanted to have a fun color palette of warm hues, so I painted my pumpkins before I put the faces on them. I used both spray paint and some leftover interior paint. If you use spray paint, I suggest priming them with a coat of white first, just to make sure you get the best color.
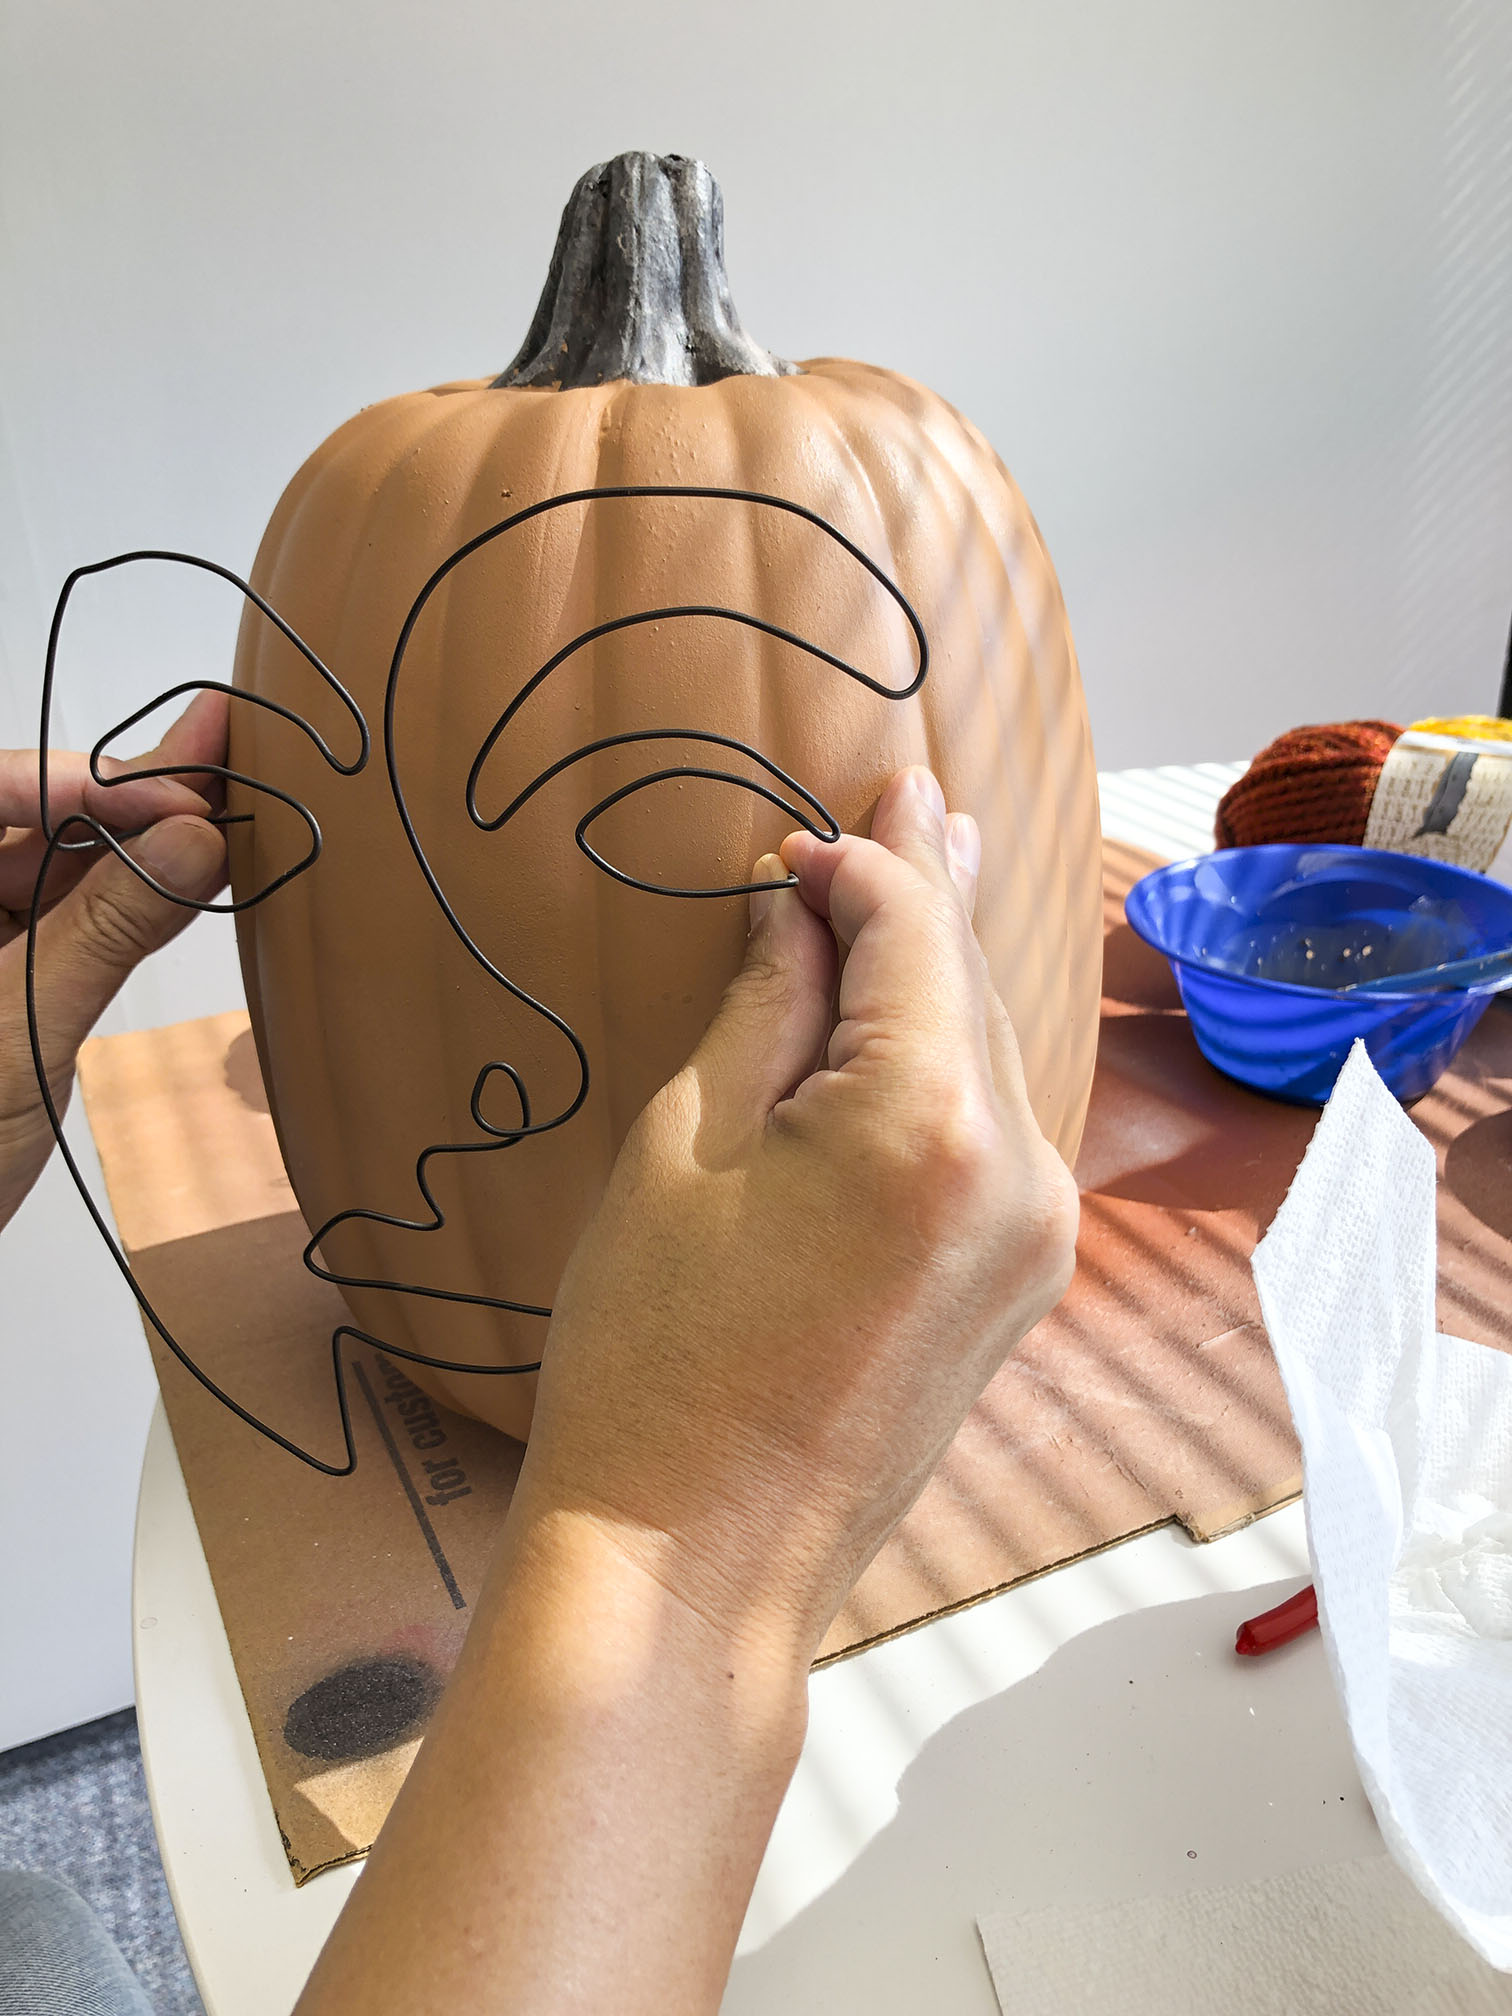
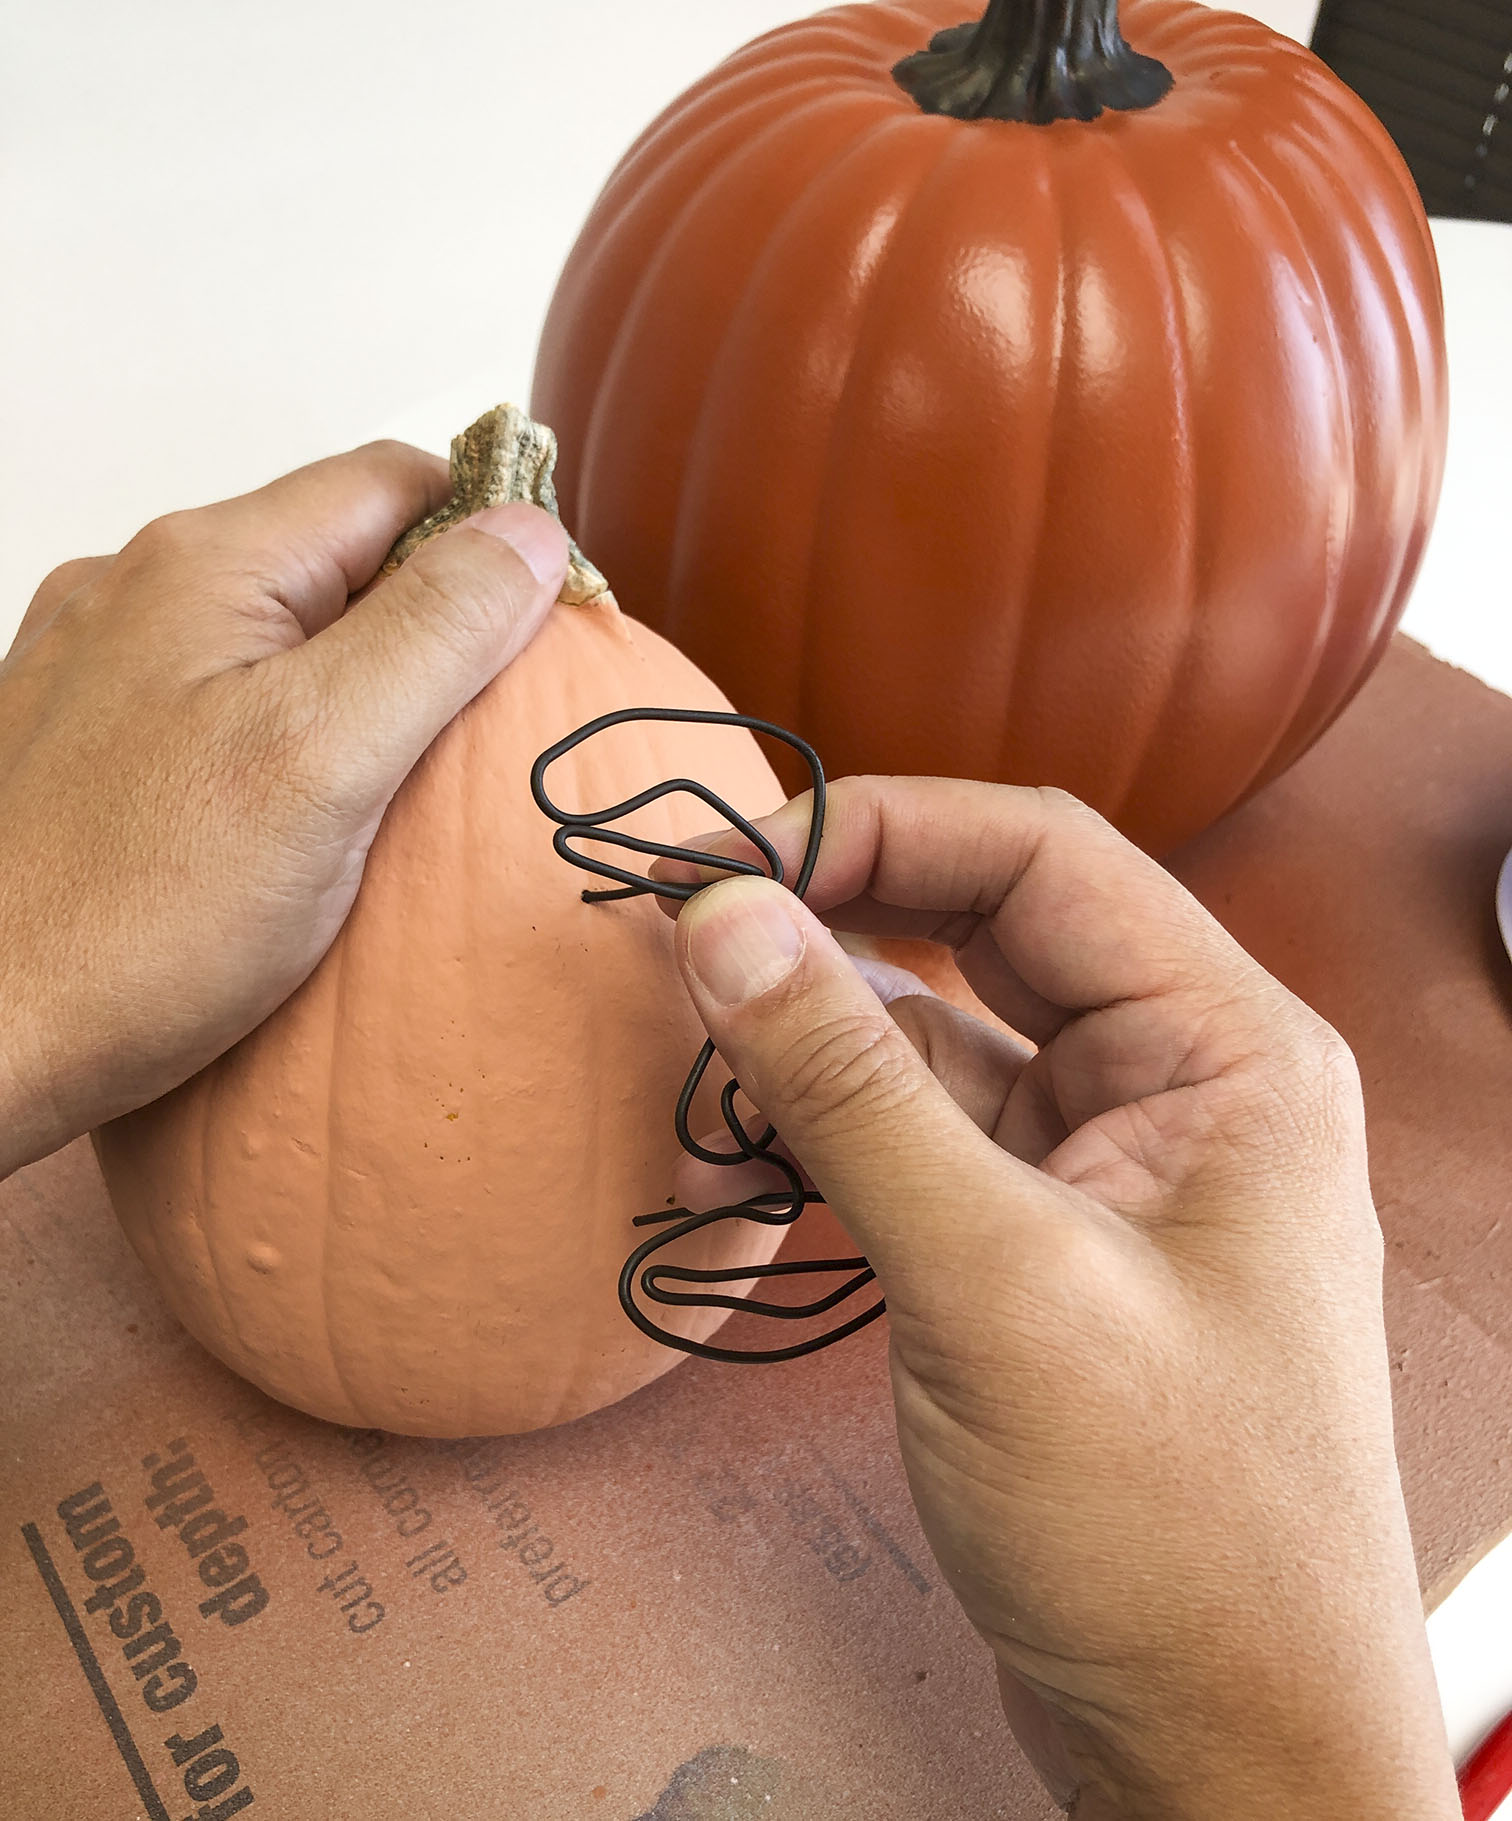
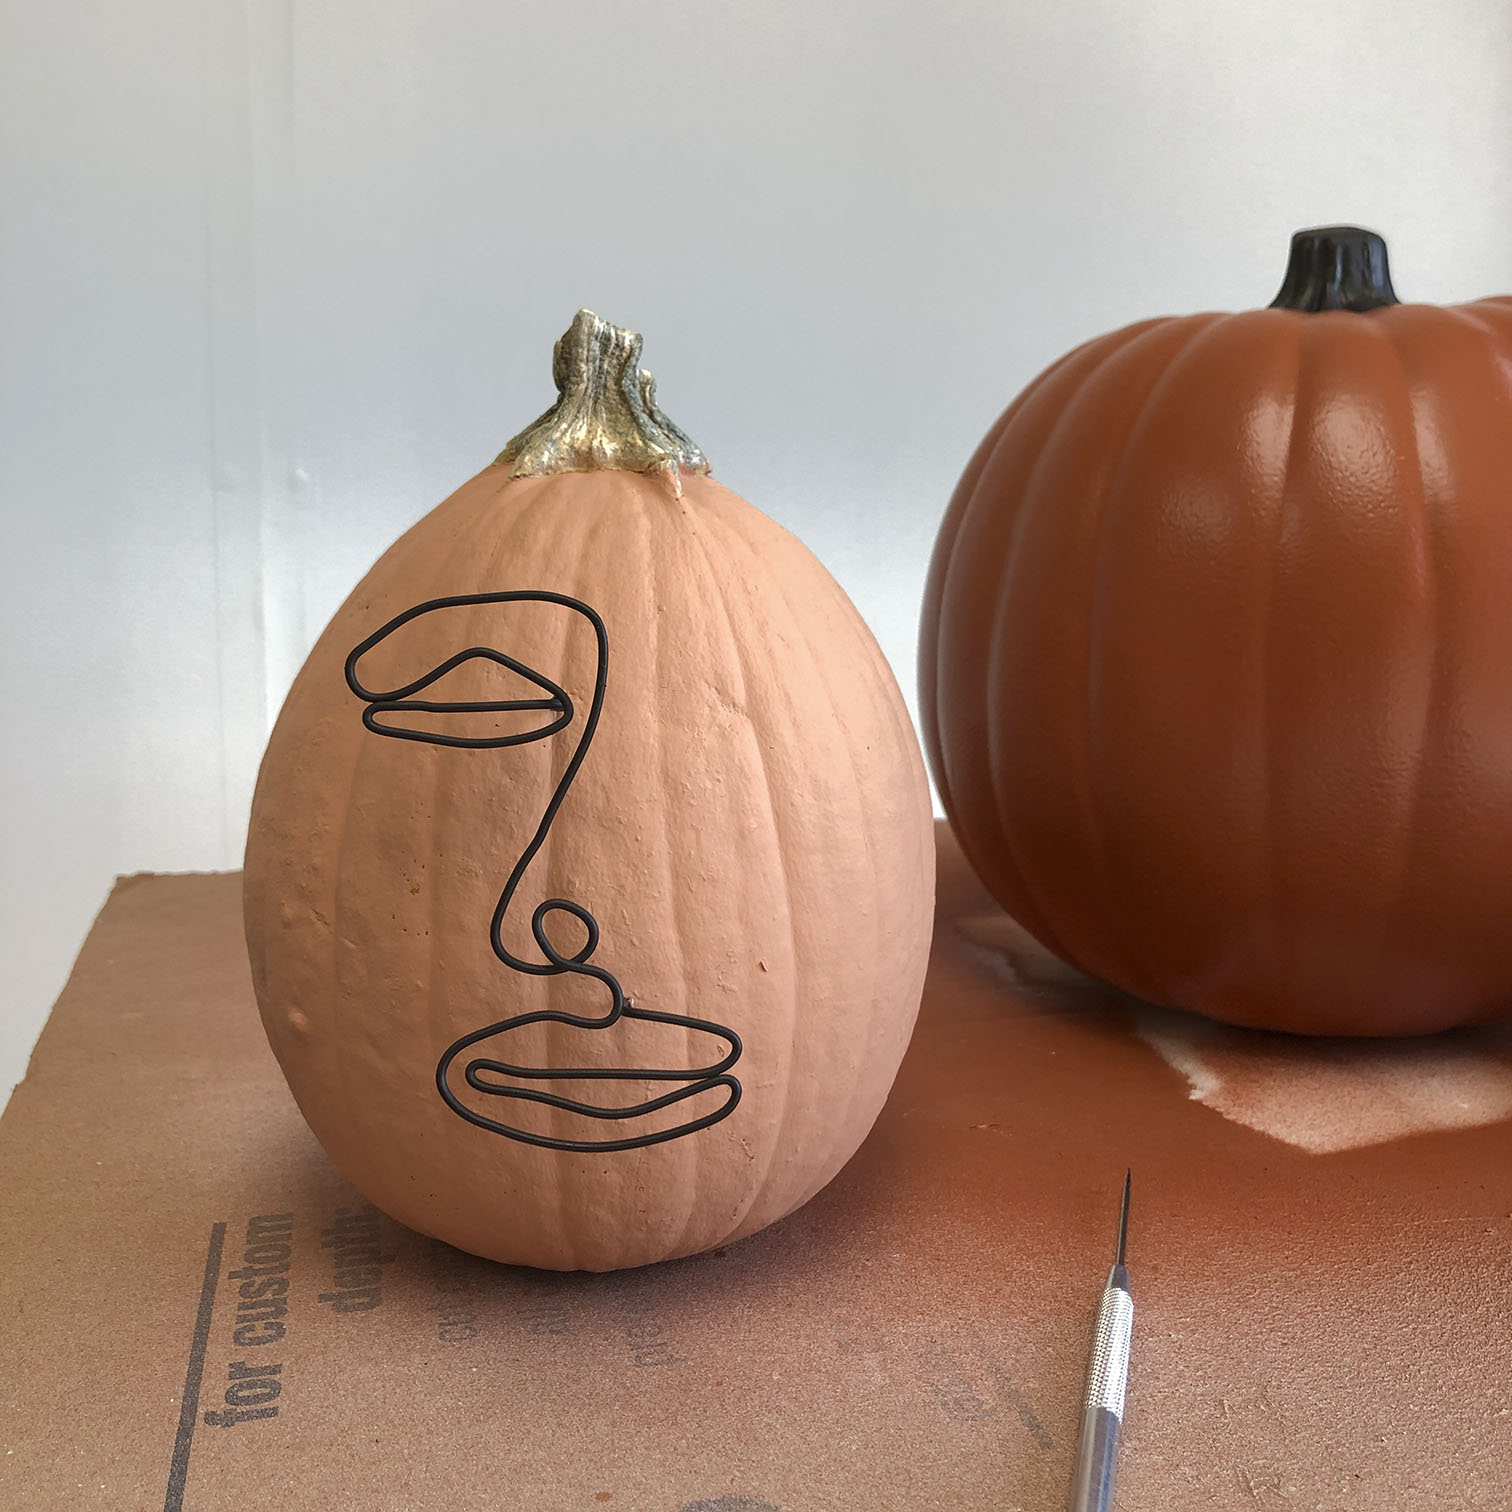
Before I put the wire face onto pumpkin, I marked where the entry points of the wires would be with a pencil, and then pre-pierced them with a metal sculpting spike. You could use a thin nail or needle, or even a short piece of the wire you’re using. I just think it helps to pre-poke the hole so that you don’t risk accidentally bending the face. Just make sure whatever you use to poke with is not thicker than the wire itself. You can use real or fake pumpkins. I used both, but I generally prefer the fake ones, especially if you plan on painting them.
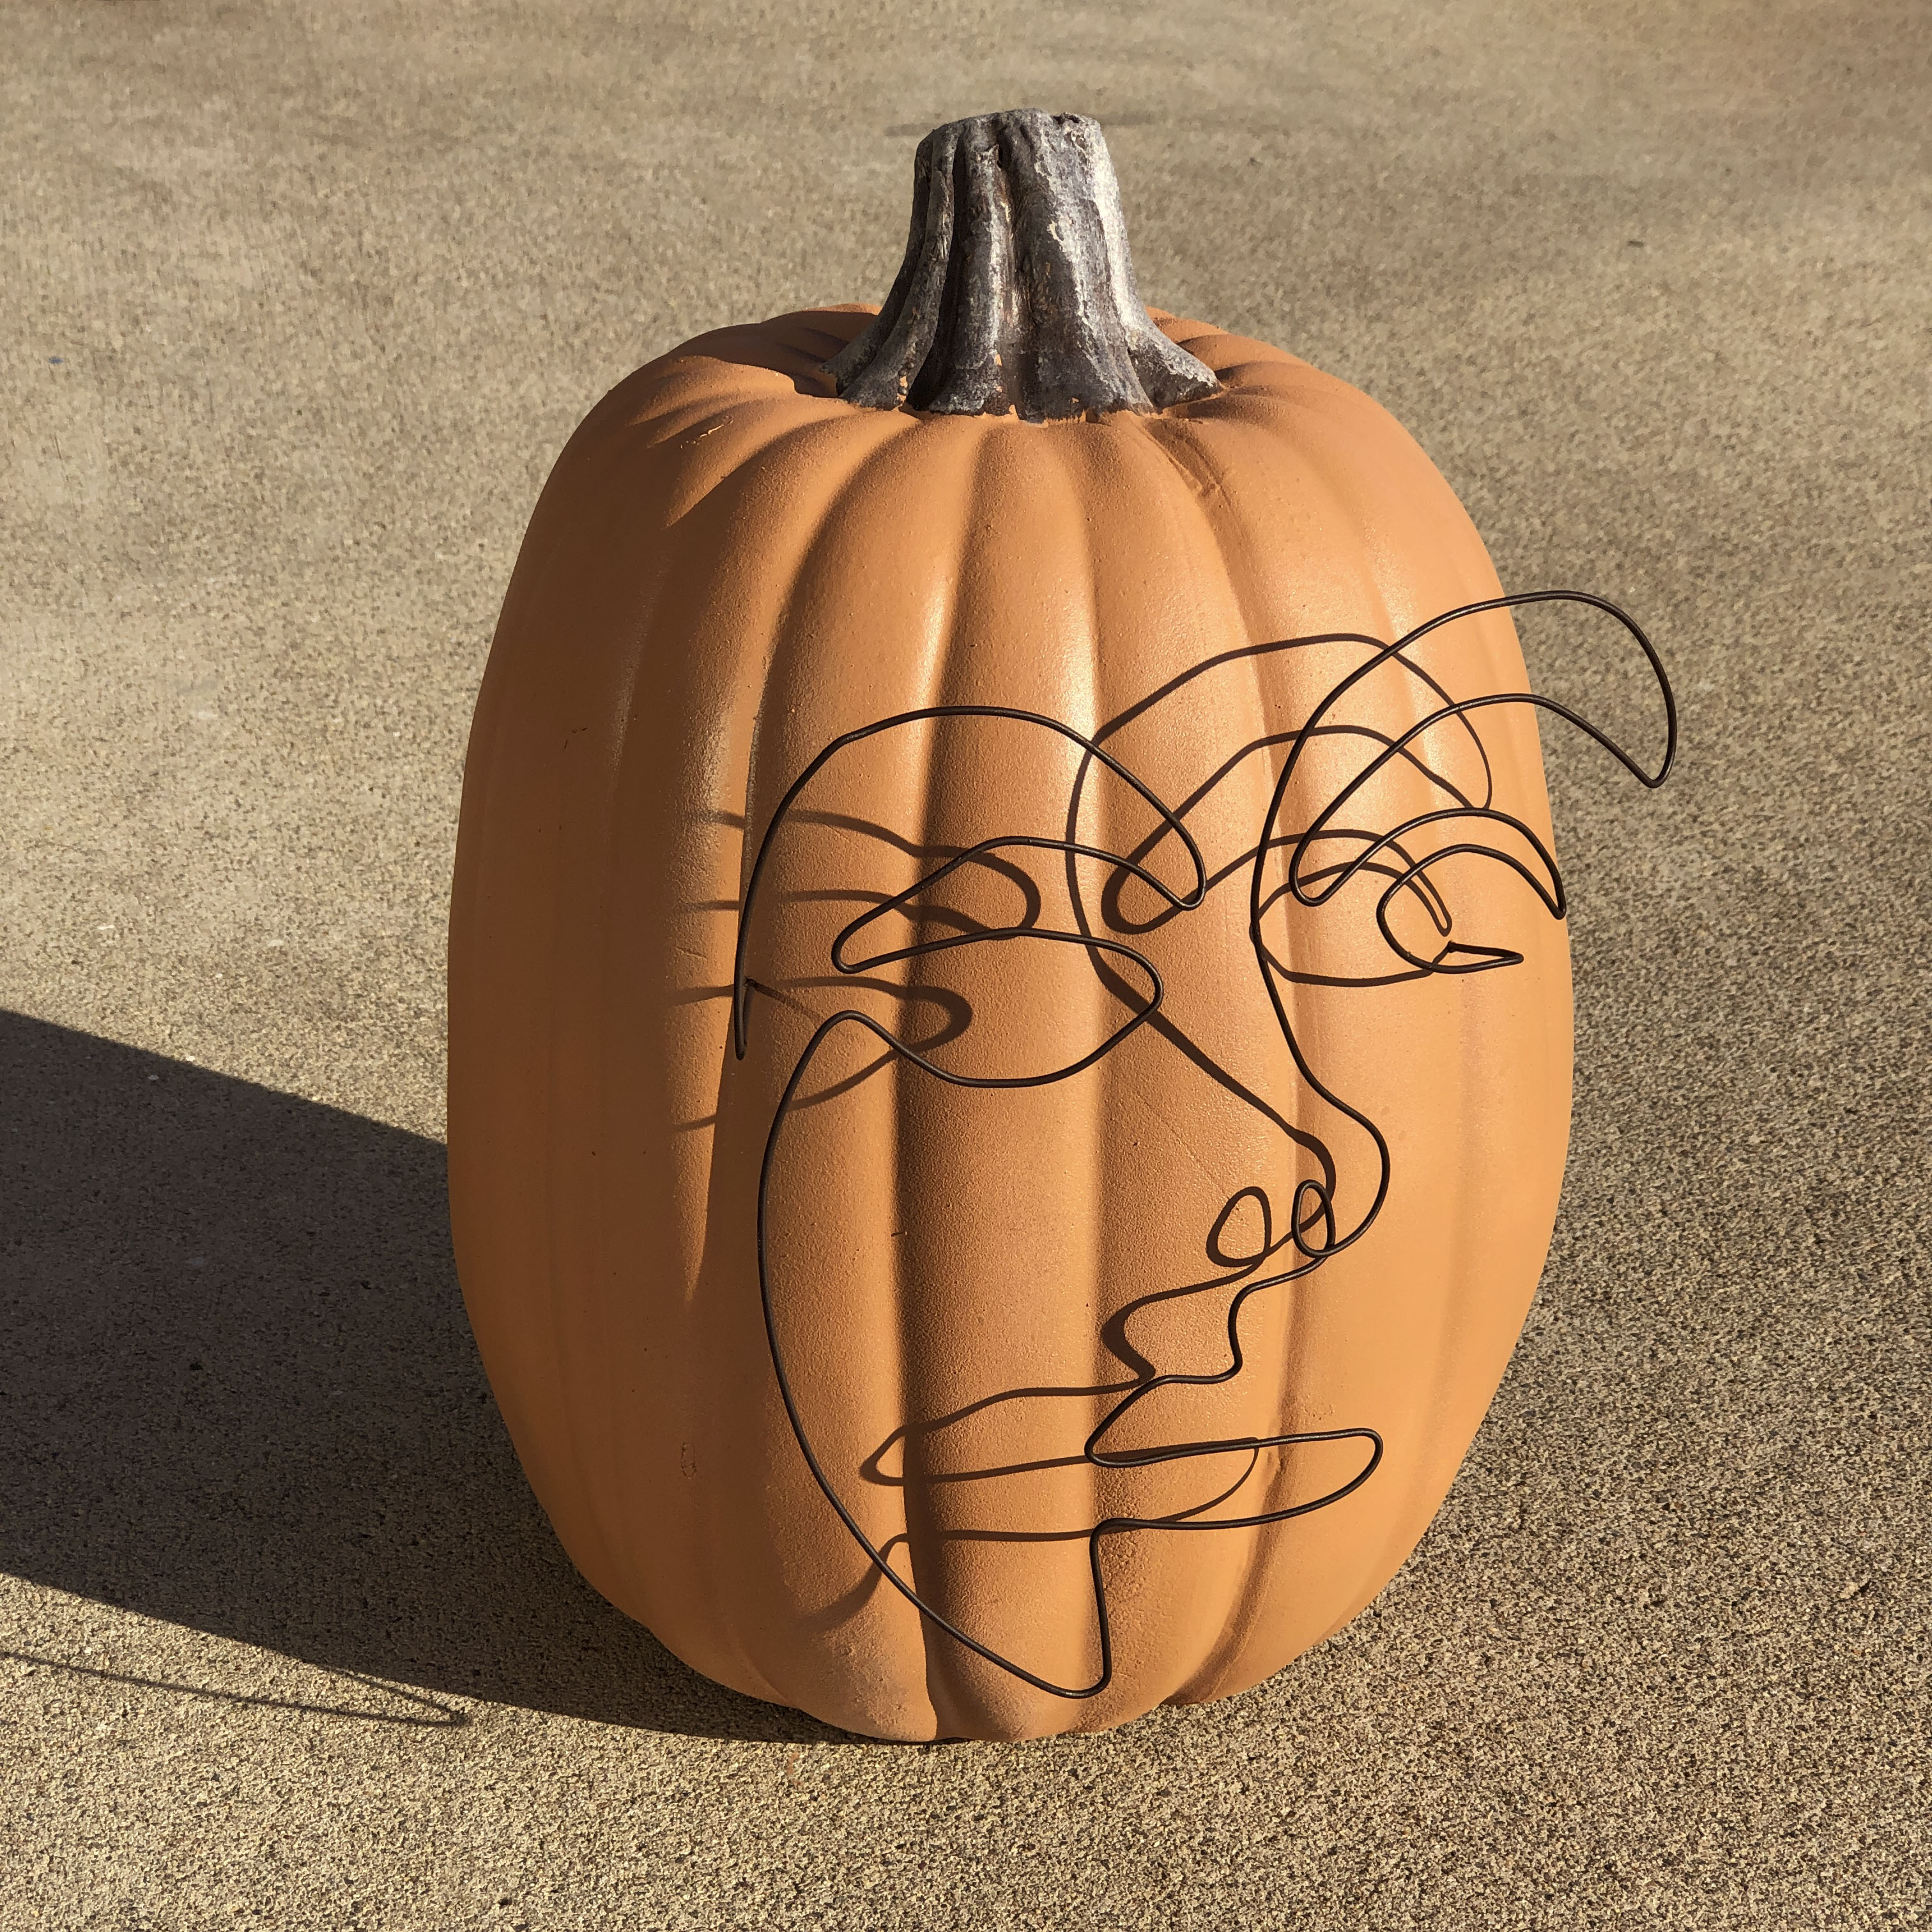
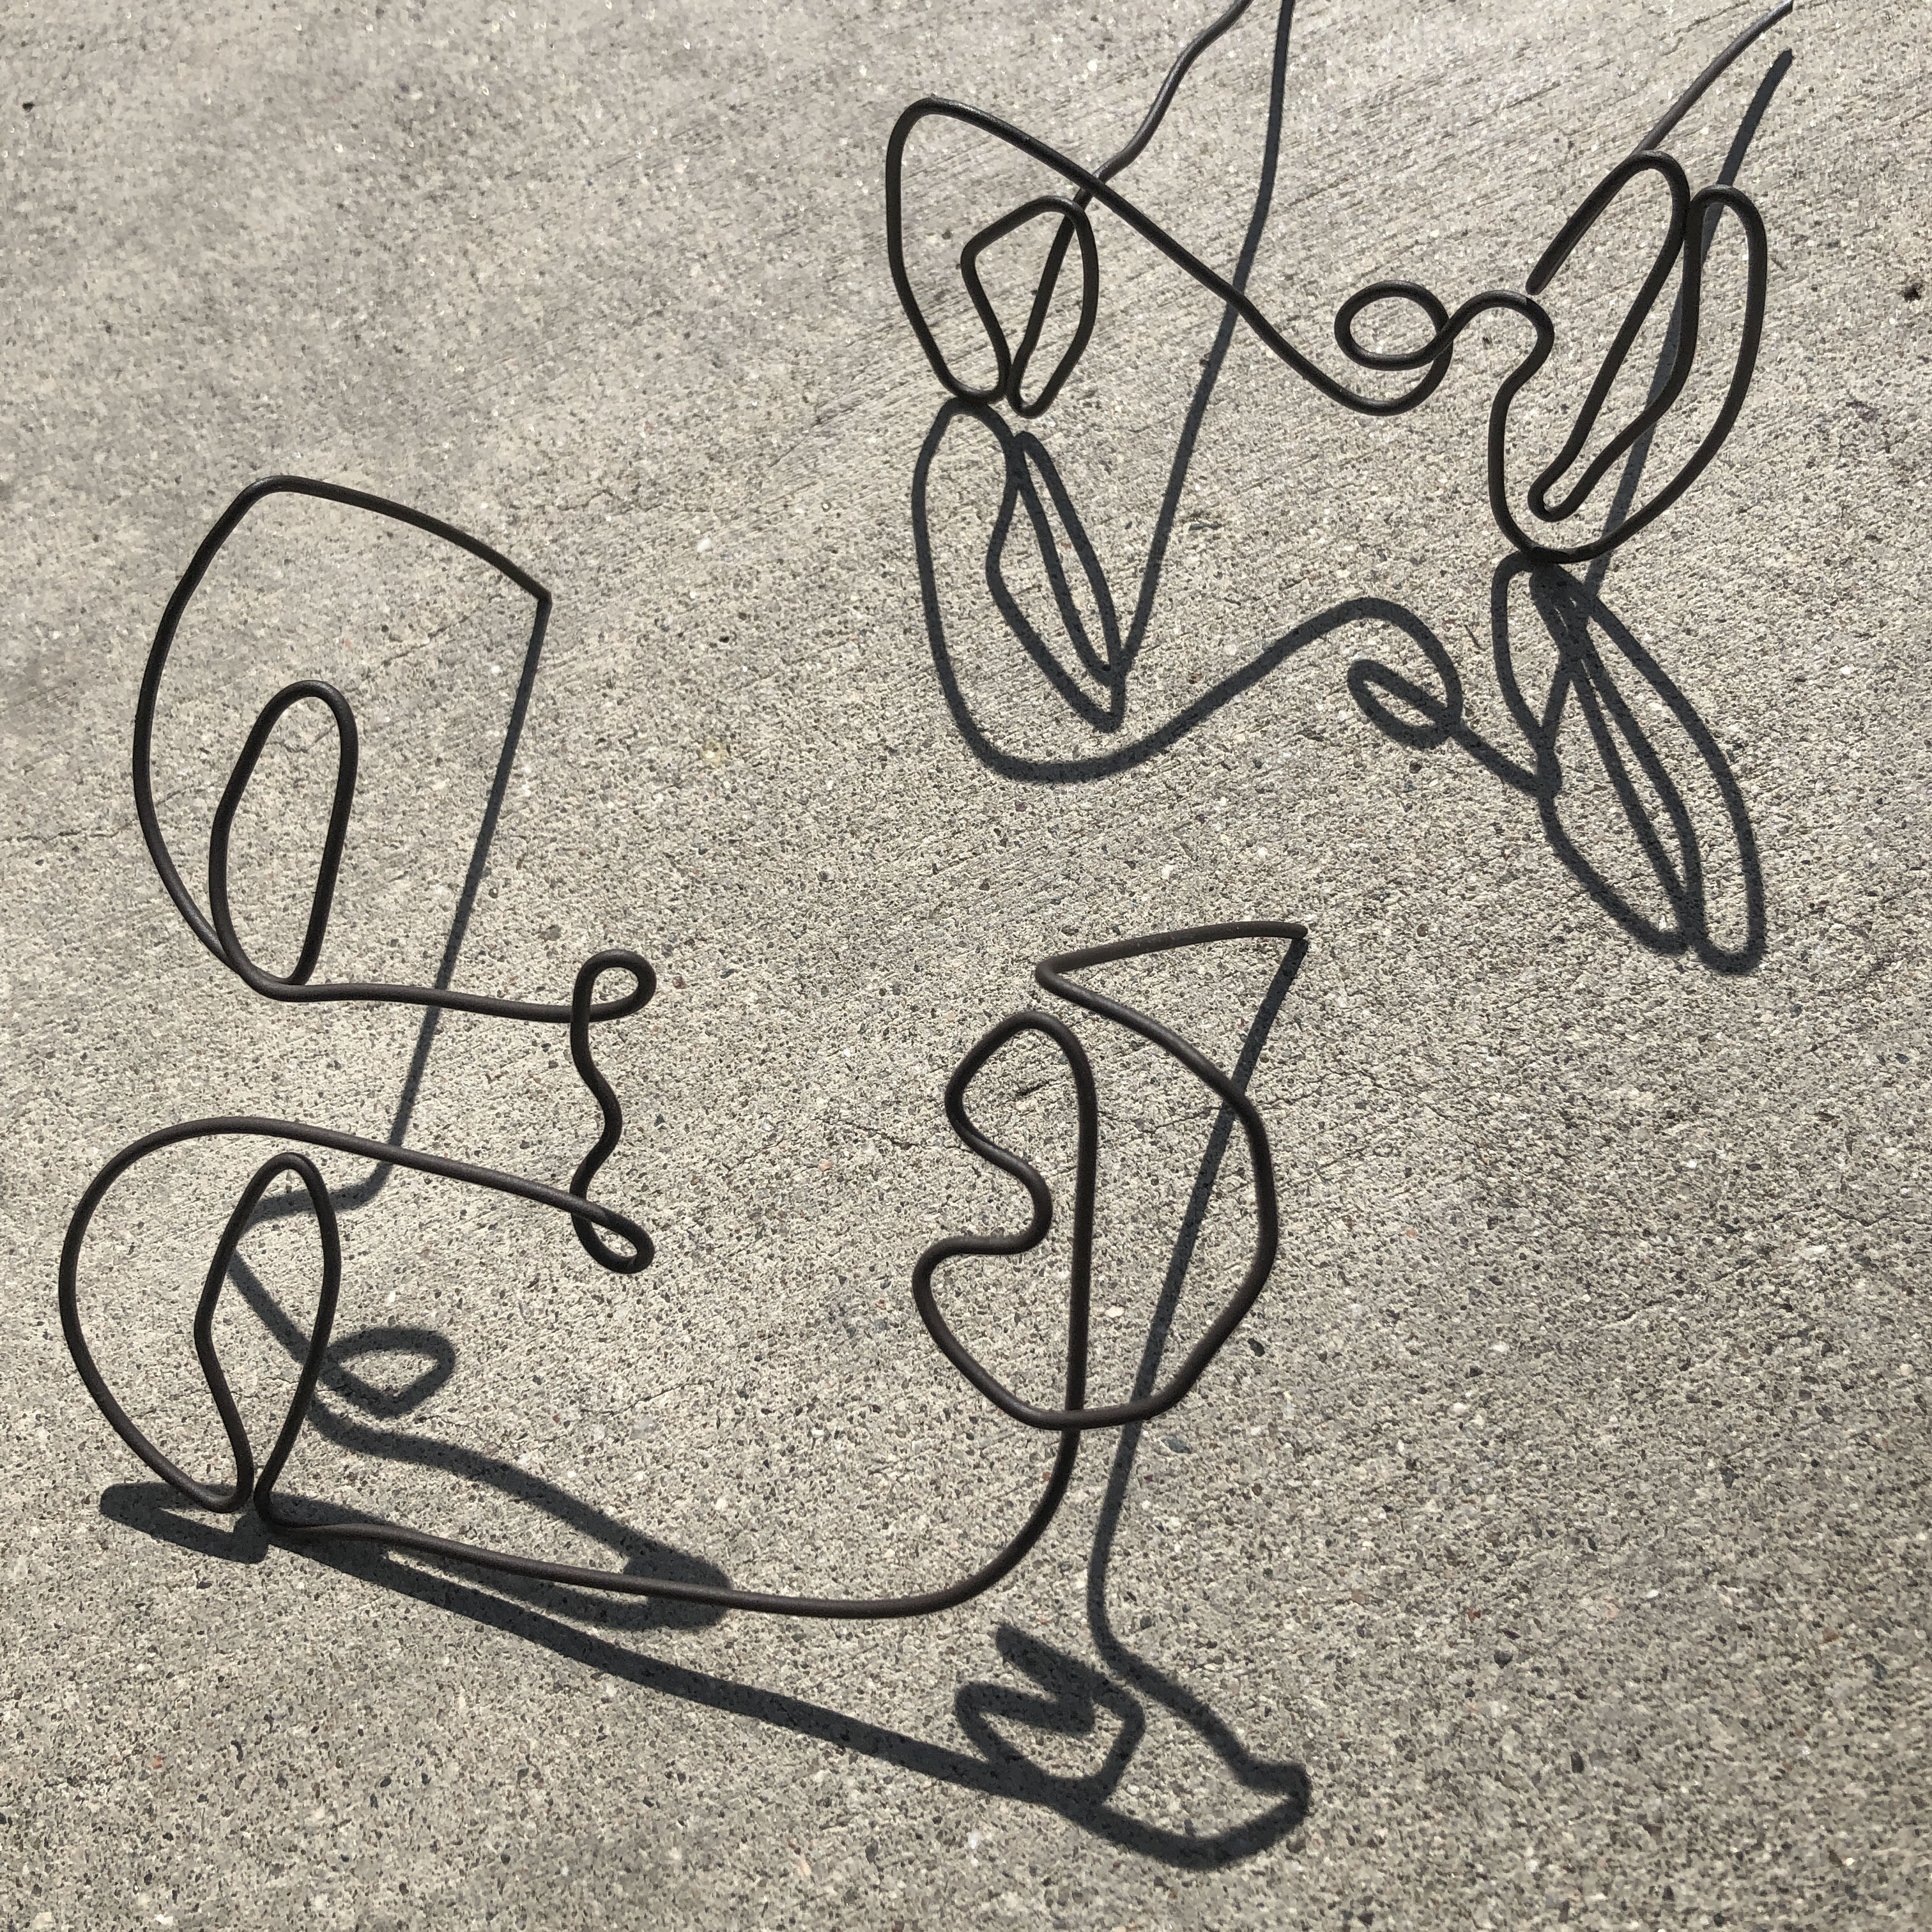
And there you have it! I love the fun shadows the faces cast!

Afterwards, you could even hang the faces on a wall or window as a piece of sculpture by themselves!
For more pumpkin ideas, check out all of my Halloween and Fall inspired DIY’s with this link here. Here are a few highlights: