

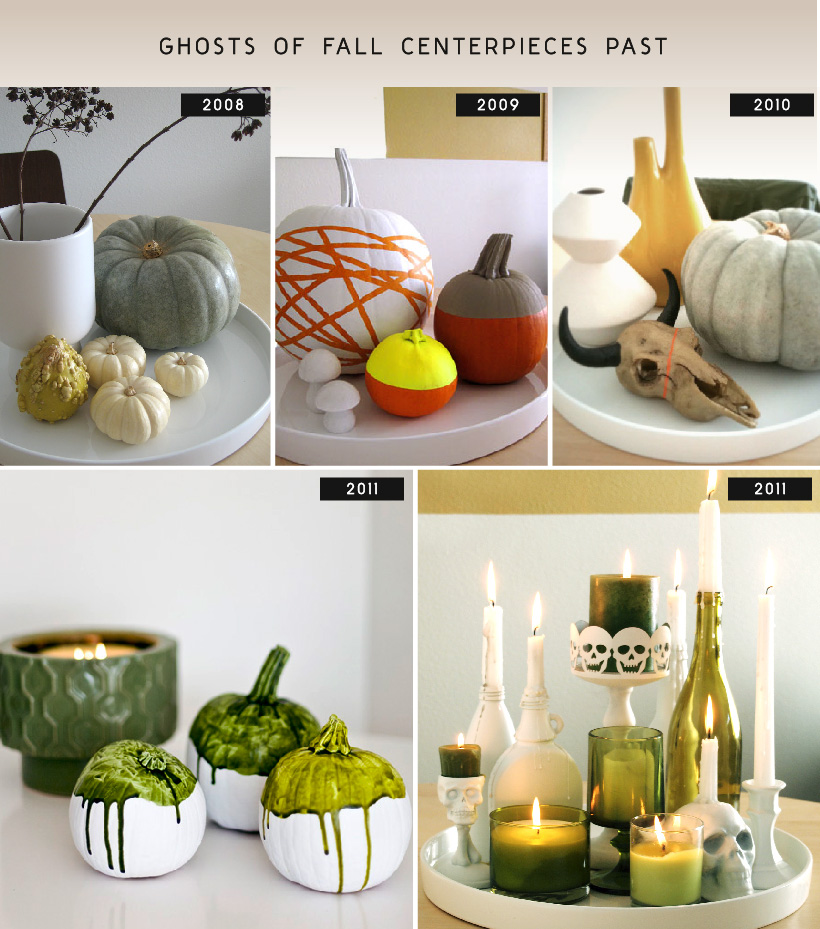
…And here we are again… Suddenly it’s one week before Halloween?! This means it’s time for my annual Great Pumpkin DIY adventure! If you’re new to the adventure, for the past few years, I’ve been documenting my Fall centerpieces. As much as I love Halloween, I try to come up with something that isn’t too Halloween specific, and more of a general “Fall” inspired interpretation that can carry out at least until it’s time to change it up for Christmas.
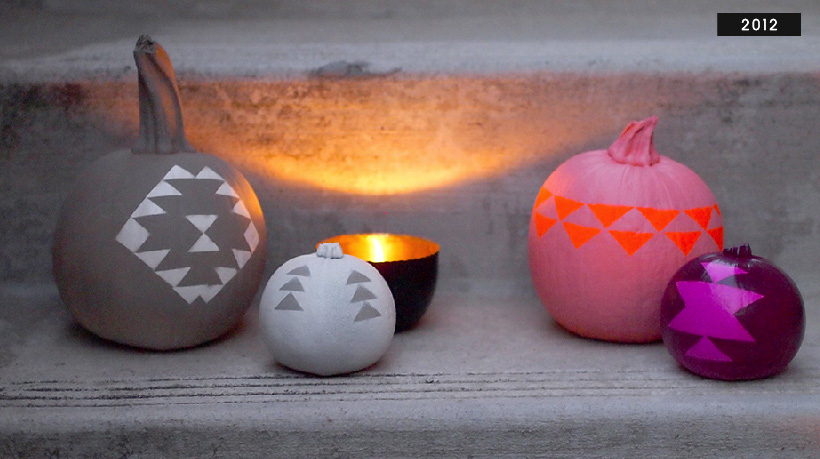
As a refresher, here’s a quick look at some of my fall centerpieces from seasons past:
Which brings us to 2013…
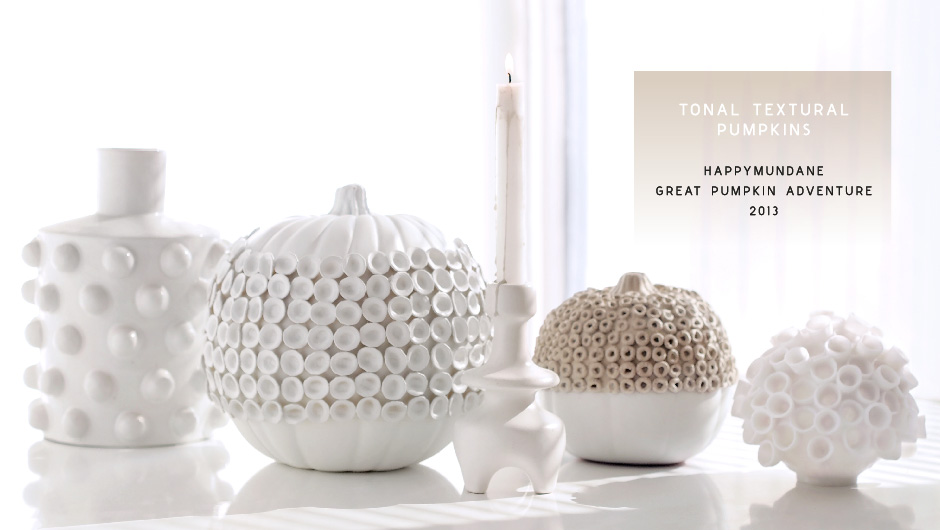
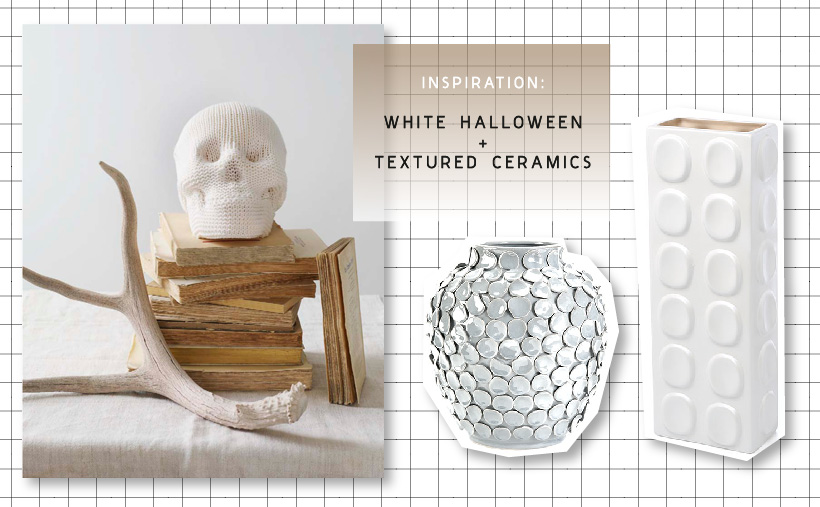
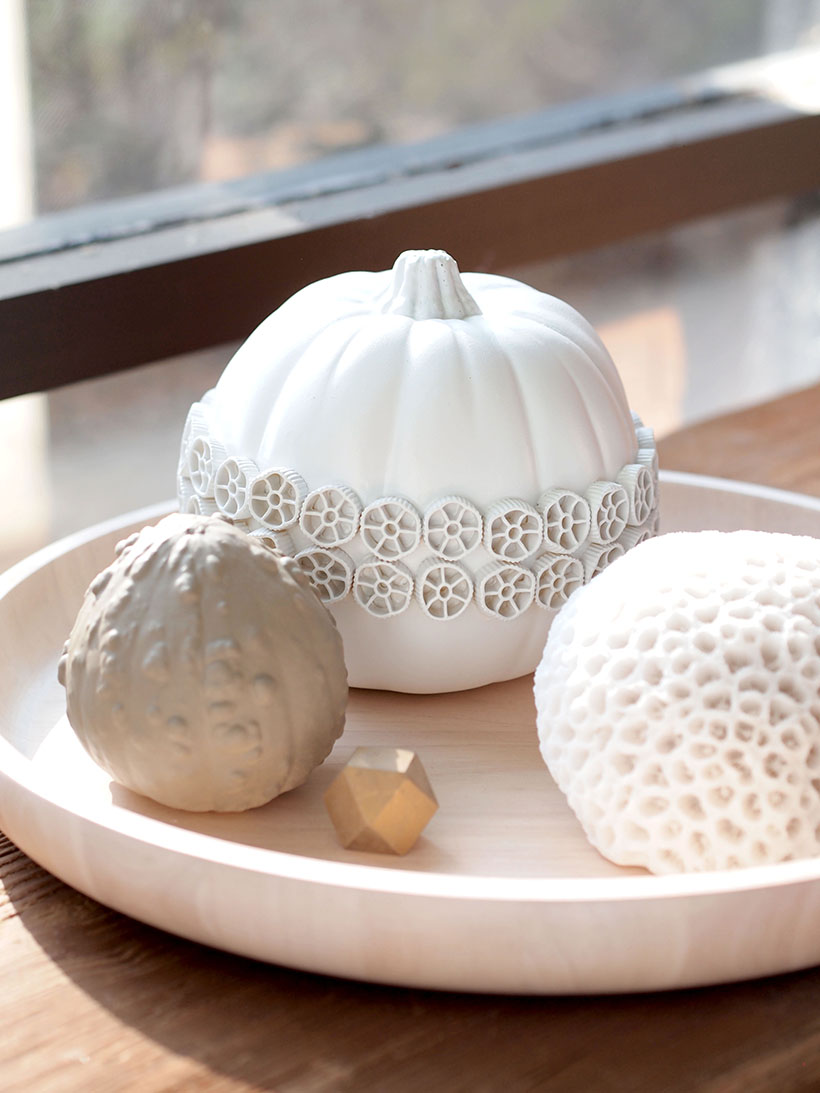
I’ve always loved the idea of an all white colorstory for Halloween (check out this awesome spread that was in the 2010 Fall issue of SweetPaul Magazine for more inspiration). I also am always inspired by tonal textural ceramics.
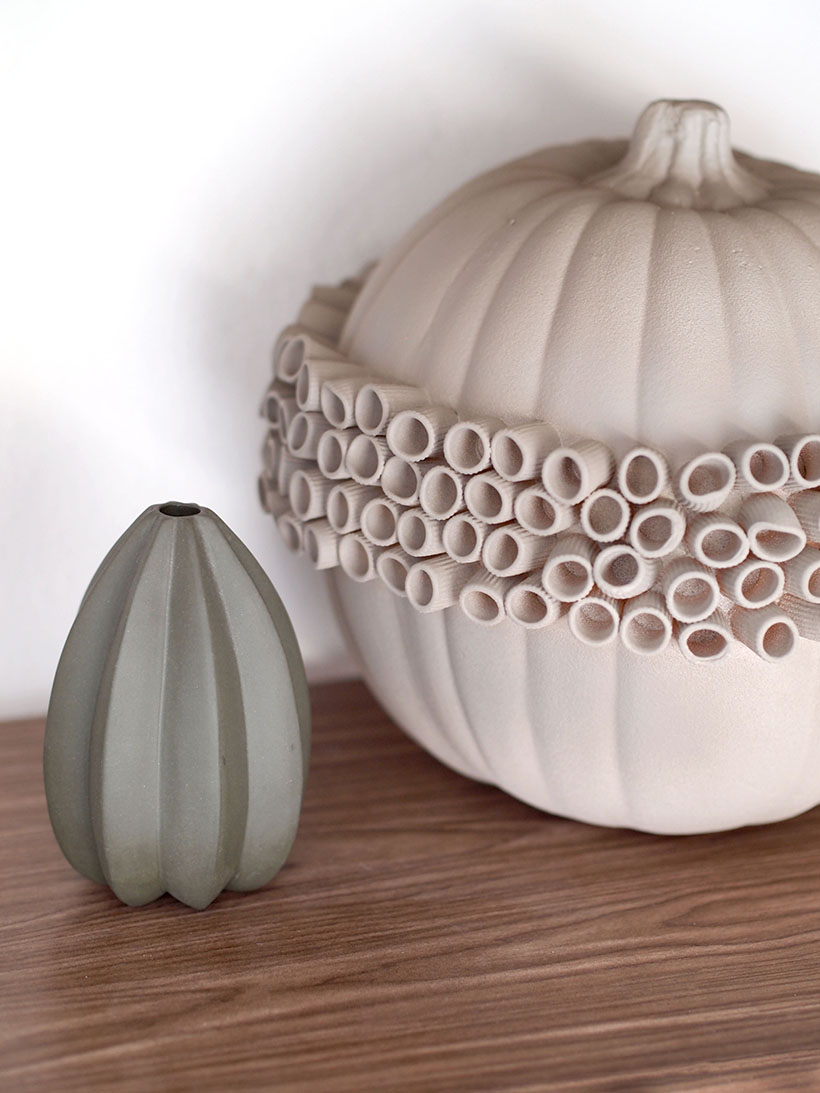
I started thinking about figuring out a way to marry the two, and then while doing my usual rounds at the grocery store, it hit me- PASTA! No, not just for dinner, but actually for the texture. Do any of you remember making pasta art pieces as a little kid? Where you’d glue dried macaroni to construction paper or cover a box with pasta shells? Anyway, I pulled a bunch of different shapes and started to experiment gluing them on the pumpkins.
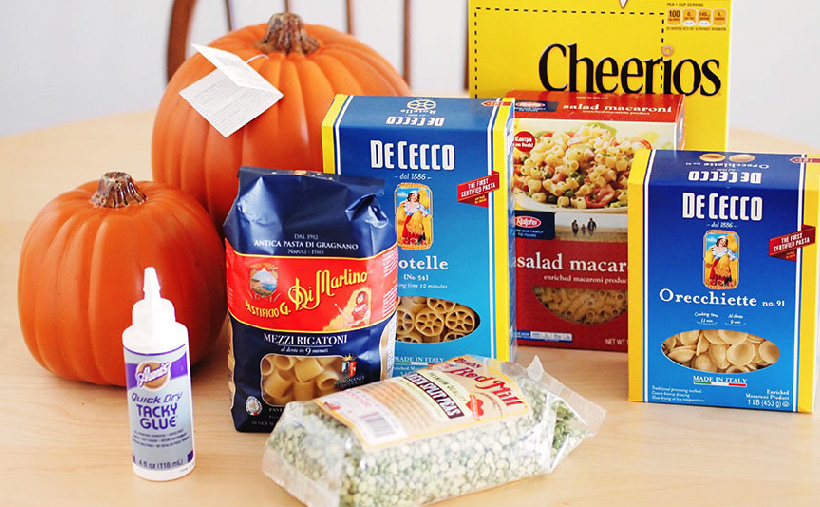
This year, I also decided to try using those fake plastic pumpkins I’ve been seeing at the craft store. I figured since the pasta would probably stick better to that than a real one.
There really wasn’t any big process to it. Essentially, I used a Quick tack glue on the larger pasta, (I used a hot glue gun on some of the smaller pieces that a smaller surface area to glue on so that it would stay in place faster) and just started gluing row after row.
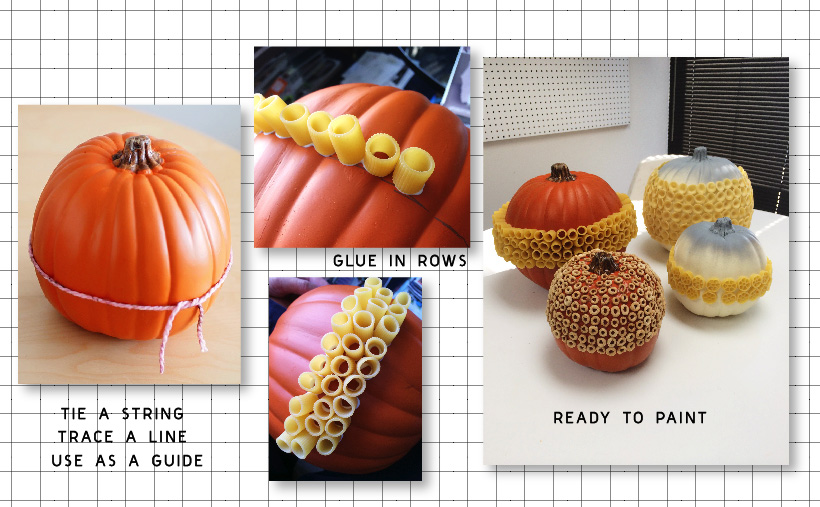
One tip I found useful was to use a string and tie it around the bottom of where I wanted a row to be. I then traced the line formed and used it as a guide to position the pasta. I also found it easier to glue from the bottom up. It allowed the shells to rest and be supported on the lower rows as they dried.
I played around with different types, and to keep it a bit modern, (or rather due to sheer laziness) I never covered a pumpkin completely, but just kept the pasta to a few bands or just half a pumpkin.
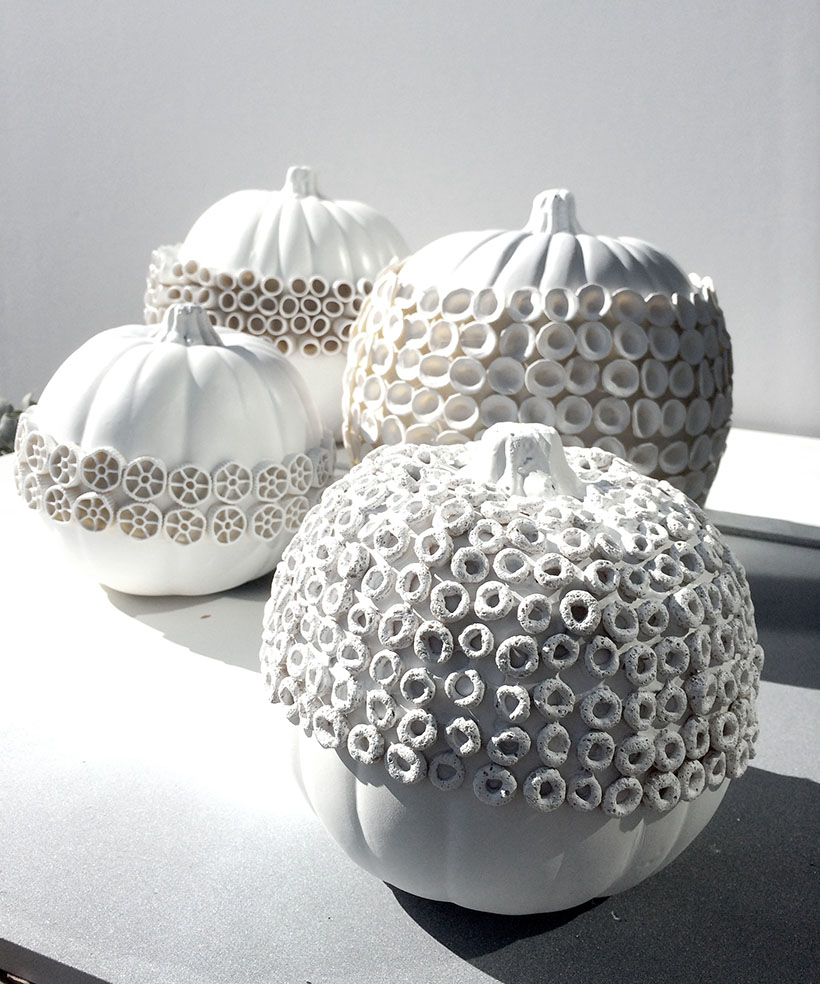
After everything dried, I then spray painted them. From the past few pumpkin adventures, I’ve learned that it’s always a good idea to prime the pumpkins first before applying another color. Since I was going for mainly white, I just did a few coats of the primer, and then played with some tan/light taupe colored spray paints. I also played around with a few of the “textured” paints that gave a fun sandy effect.
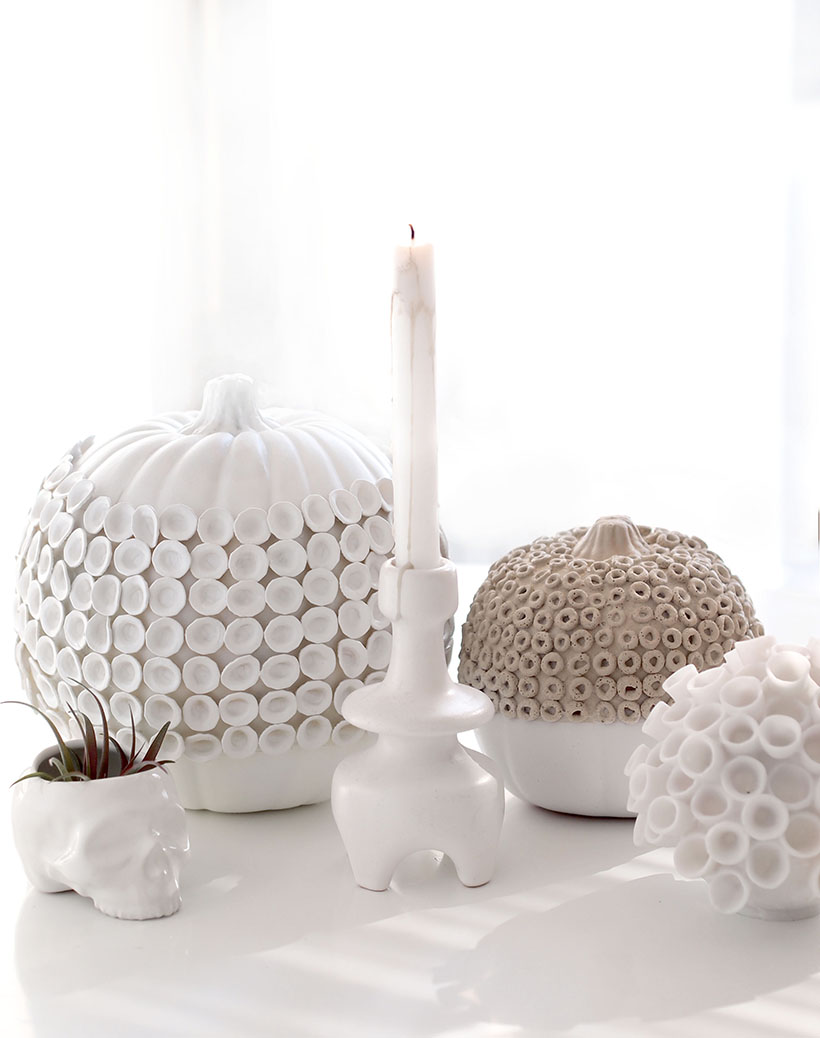
To finish things off, I placed them around the house and mixed them in with a few white tonal accessories, and threw in a couple little bumpy gourds that I also sprayed with just the primer or the tan paint.
I actually really like how these turned out and think you could easily apply this technique to simple vases or containers too!
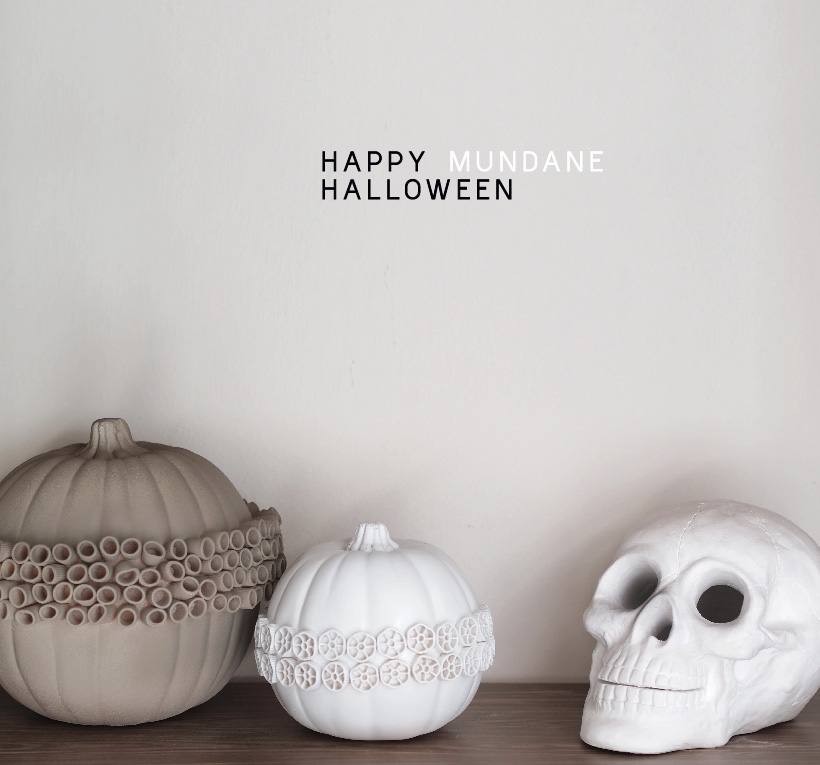
Anyway I hope you all have a Happy Halloween!
Photos / Styling by Jonathan Lo / j3productions.com