I know I had said that this year’s Fall centerpiece was going to be about glass, skulls, drips and lots o’ green, but in the process I got totally side-tracked and inspired to do another side project involving pumpkins. The last time I played with pumpkins, I came up with these “mod / pop” pumpkins. This year I’m going with green tones as originally planned, but taking my cues from pottery instead.
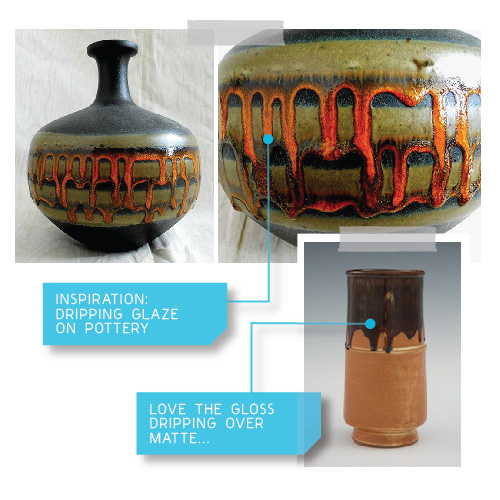
I’ve always loved the different glazes that were popular with many potters and ceramicists during the 60s and 70s. I especially love the drippy glazes, like the ones below. (top image via, bottom right via) After my wonderful visit with Tracy, I knew I HAD to do something that involved some sort of matte/gloss glaze look. And why not on pumpkins right? So I played around, and here’s what I did:
First, here’s what you’ll need:
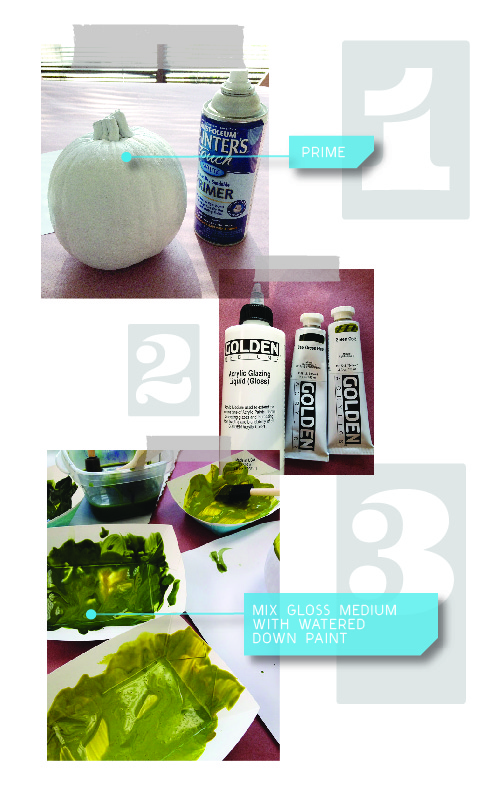
White spray primer
Some tubes of acrylic paint (I went with green tones, but obviously the possibilities are endless)
A bottle of acrylic gloss glazing medium. (you’ll mix this with your paint to help enhance the shine)
Sponge brushes
A some paper bowls/dishes or something like that to mix the paints in
Cup of water
Tons of paper to protect your surface.
 1) The first thing I did was prime the pumpkin. Using spray primer gives things a wonderful matte look. If you’ve been following my blog and projects, you’ll know I use this for almost EVERYTHING.
2) and 3) Mix your paints. It takes some experimenting to get the right consistency. You don’t want it too think, or too runny- but more runny than thick. About the consistency of a good tomato soup. Make sure you mix in lots of the clear glaze medium.
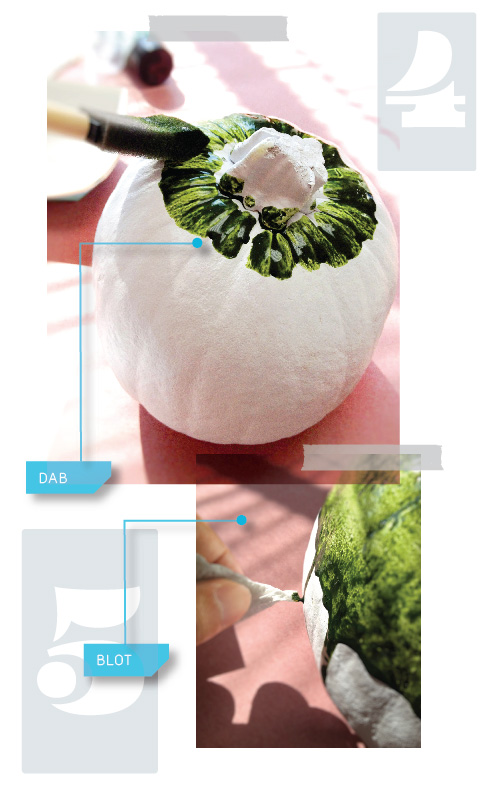
 4) Then I just dabbed it on! I started at the top and worked my way to about halfway down. I found that the more uneven and loose your coverage is, the better. The more you dab, the nicer texture you get and I intentionally let parts get heavier to encourage drips. You might want to practice on a tester pumpkin first. Acrylic dries pretty quickly so that’s a plus.
5) I didn’t want all my drips to go all the way down, so on certain ones I used the tip of a paper towel to help absorb the excess paint without losing the drip.
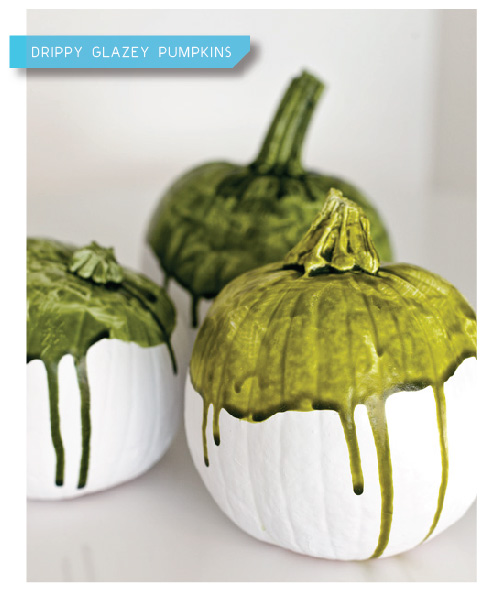
And voila! Creepy cool drippy glaze-y-esque pumpkins.
Are you guys doing anything fun to your pumpkins! Leave a comment and share! Tomorrow I’ll post up the rest of my fall centerpiece project 2011… stay tuned!


